用 three.js 画个太阳

前言

大家好,这里是 CSS 魔法使——alphardex。

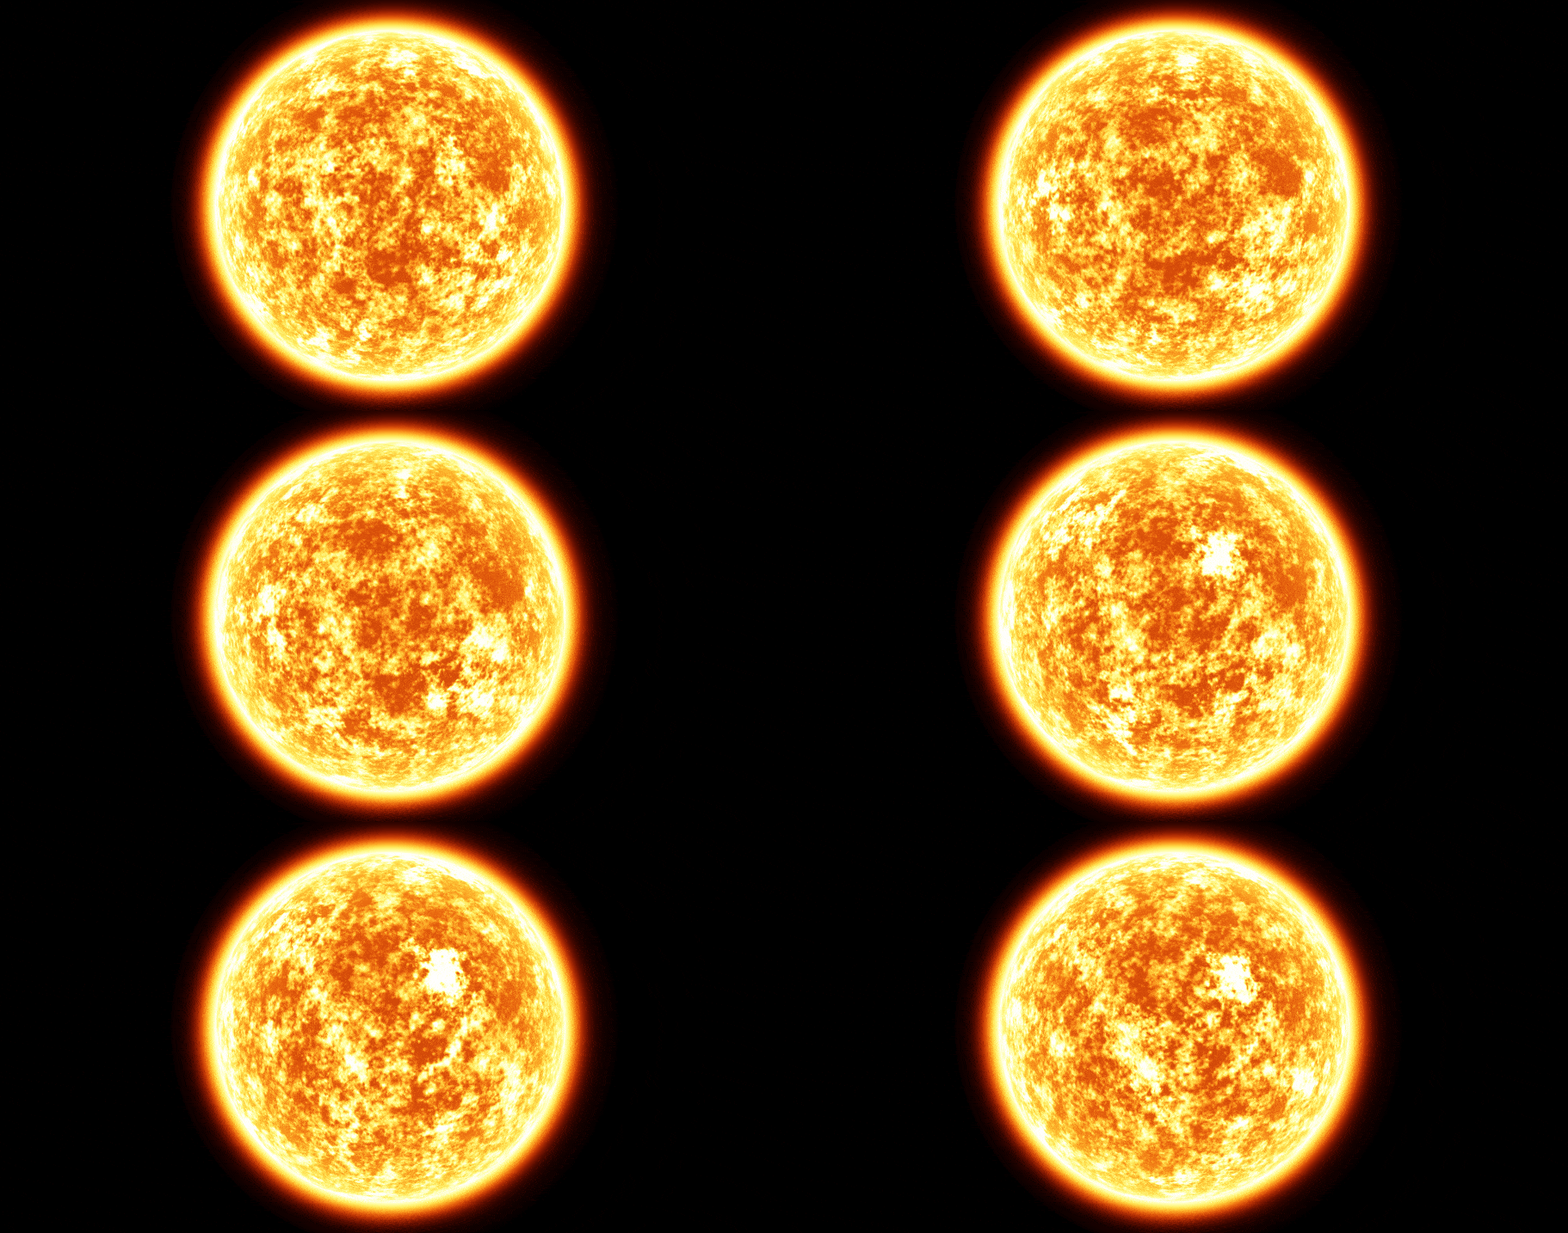
本文我们将用 three.js 来模拟出太阳的动画效果,以下是最终实现的效果图

sun.gif

让我们开始吧!

准备工作

笔者的three.js 模板:点击右下角的 fork 即可复制一份

画太阳

离屏渲染

实现太阳的主要思路如下:

  1. 创建噪声(本文选了simplex noise作为噪声)
  2. 将噪声作为 Cube 贴图渲染在球体上
  3. 给球体的贴图进行多重采样,模拟太阳运动的效果
  4. 创建一个渐变辐射,作为太阳外围的环
1
2
3
4
5
6
7
8
9
10
11
12
13
14
15
16
17
18
19
20
21
22
23
24
25
26
27
28
29
30
31
32
33
34
35
36
37
38
39
40
41
42
43
44
45
46
47
48
49
50
51
52
53
54
55
56
57
58
59
60
61
62
63
64
65
66
67
68
69
70
71
72
73
74
75
76
77
78
79
80
81
82
83
84
85
86
87
88
89
90
91
92
93
94
95
96
97
98
99
100
101
102
103
104
105
106
107
108
109
110
111
112
113
114
115
116
117
118
119
120
121
122
123
124
125
126
127
128
129
130
131
132
133
134
135
136
137
138
139
140
141
142
143
144
145
146
147
class Sun extends Base {
constructor(sel: string, debug: boolean) {
super(sel, debug);
this.clock = new THREE.Clock();
this.cameraPosition = new THREE.Vector3(0, 0, 2);
}
// 初始化
init() {
this.createScene();
this.createPerspectiveCamera();
this.createRenderer();
this.createSunNoiseMaterial();
this.createCubeRt();
this.createSunShapeMaterial();
this.createSun();
this.createSunRingMaterial();
this.createSunRing();
this.createLight();
this.trackMousePos();
this.createOrbitControls();
this.addListeners();
this.setLoop();
}
// 创建噪声材质
createSunNoiseMaterial() {
const sunNoiseMaterial = new THREE.ShaderMaterial({
vertexShader: sunNoiseVertexShader,
fragmentShader: sunNoiseFragmentShader,
side: THREE.DoubleSide,
uniforms: {
uTime: {
value: 0,
},
uMouse: {
value: new THREE.Vector2(0, 0),
},
uResolution: {
value: new THREE.Vector2(window.innerWidth, window.innerHeight),
},
},
});
this.sunNoiseMaterial = sunNoiseMaterial;
}
// 创建立方体离屏渲染目标,将其作为太阳本体的噪声贴图
createCubeRt() {
const cubeRt = new THREE.WebGLCubeRenderTarget(256);
this.cubeRt = cubeRt;
const cubeCamera = new THREE.CubeCamera(0.1, 10, cubeRt);
this.cubeCamera = cubeCamera;
const cubeScene = new THREE.Scene();
const geometry = new THREE.SphereBufferGeometry(1, 100, 100);
const material = this.sunNoiseMaterial;
this.createMesh(
{
geometry,
material,
},
cubeScene
);
this.cubeScene = cubeScene;
}
// 创建太阳本体材质
createSunShapeMaterial() {
const sunShapeMaterial = new THREE.ShaderMaterial({
vertexShader: sunShapeVertexShader,
fragmentShader: sunShapeFragmentShader,
side: THREE.DoubleSide,
uniforms: {
uTime: {
value: 0,
},
uMouse: {
value: new THREE.Vector2(0, 0),
},
uResolution: {
value: new THREE.Vector2(window.innerWidth, window.innerHeight),
},
uNoiseTexture: {
value: null,
},
uVelocity: {
value: 0.05,
},
uBrightness: {
value: 0.33,
},
uStagger: {
value: 16,
},
},
});
this.sunShapeMaterial = sunShapeMaterial;
}
// 创建太阳
createSun() {
const geometry = new THREE.SphereBufferGeometry(1, 100, 100);
const material = this.sunShapeMaterial;
this.createMesh({
geometry,
material,
});
}
// 创建太阳环材质
createSunRingMaterial() {
const sunRingMaterial = new THREE.ShaderMaterial({
vertexShader: sunRingVertexShader,
fragmentShader: sunRingFragmentShader,
side: THREE.BackSide,
uniforms: {
uTime: {
value: 0,
},
uMouse: {
value: new THREE.Vector2(0, 0),
},
uResolution: {
value: new THREE.Vector2(window.innerWidth, window.innerHeight),
},
},
});
this.sunRingMaterial = sunRingMaterial;
}
// 创建太阳环
createSunRing() {
const geometry = new THREE.SphereBufferGeometry(1.2, 100, 100);
const material = this.sunRingMaterial;
this.createMesh({
geometry,
material,
});
}
// 动画
update() {
const elapsedTime = this.clock.getElapsedTime();
const mousePos = this.mousePos;
if (this.sunNoiseMaterial && this.sunShapeMaterial) {
this.cubeCamera.update(this.renderer, this.cubeScene);
this.sunNoiseMaterial.uniforms.uTime.value = elapsedTime;
this.sunNoiseMaterial.uniforms.uMouse.value = mousePos;
this.sunShapeMaterial.uniforms.uTime.value = elapsedTime;
this.sunShapeMaterial.uniforms.uMouse.value = mousePos;
this.sunShapeMaterial.uniforms.uNoiseTexture.value = this.cubeRt.texture;
this.sunRingMaterial.uniforms.uTime.value = elapsedTime;
this.sunRingMaterial.uniforms.uMouse.value = mousePos;
}
}
}

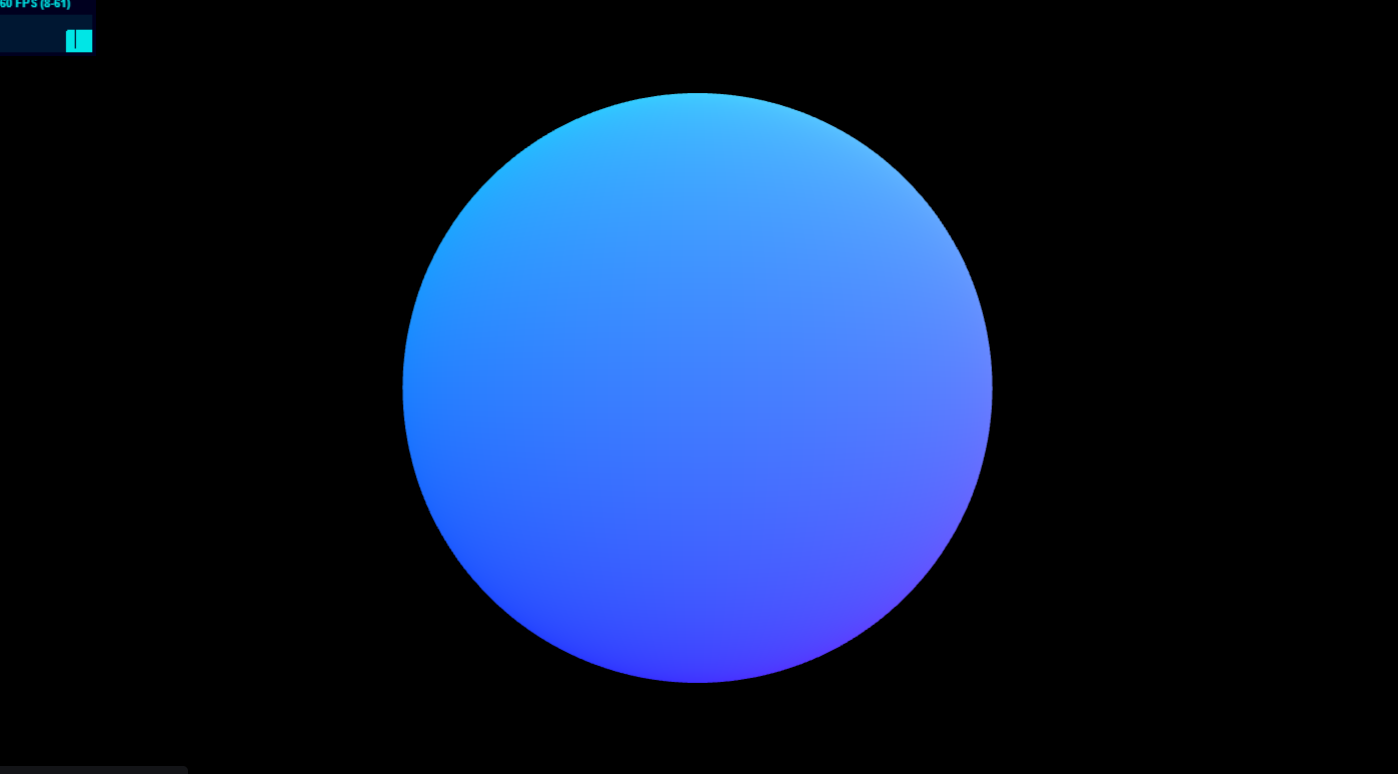
1.png

做好离屏渲染的准备工作后,可以开始本文的重点——着色器了。

噪声着色器

顶点

跟模板相同,略

片元

采用了噪声,结合了分形布朗运动fbm来实现噪声动画

分形布朗运动的本质是通过循环来升高噪声的频率并降低噪声的振幅

1
2
3
4
5
6
7
8
9
10
11
12
13
14
15
16
17
18
19
20
21
22
23
24
25
26
27
28
29
30
31
32
33
34
35
36
37
38
39
40
41
42
43
44
45
46
47
48
49
50
51
52
53
54
55
56
57
58
59
60
61
62
63
64
65
66
67
68
69
70
71
72
73
74
75
76
77
78
79
80
81
82
83
84
85
86
87
88
89
90
91
92
93
94
95
96
97
98
99
100
101
102
103
104
105
106
107
108
109
110
111
112
113
114
115
116
117
118
119
120
121
122
123
124
125
126
127
128
129
130
131
132
133
134
135
136
137
138
139
140
141
142
143
144
145
146
147
148
149
vec4 mod289(vec4 x) {
return x - floor(x * (1.0 / 289.0)) * 289.0; }

float mod289(float x) {
return x - floor(x * (1.0 / 289.0)) * 289.0; }

vec4 permute(vec4 x) {
return mod289(((x*34.0)+1.0)*x);
}

float permute(float x) {
return mod289(((x*34.0)+1.0)*x);
}

vec4 taylorInvSqrt(vec4 r)
{
return 1.79284291400159 - 0.85373472095314 * r;
}

float taylorInvSqrt(float r)
{
return 1.79284291400159 - 0.85373472095314 * r;
}

vec4 grad4(float j, vec4 ip)
{
const vec4 ones = vec4(1.0, 1.0, 1.0, -1.0);
vec4 p,s;

p.xyz = floor( fract (vec3(j) * ip.xyz) * 7.0) * ip.z - 1.0;
p.w = 1.5 - dot(abs(p.xyz), ones.xyz);
s = vec4(lessThan(p, vec4(0.0)));
p.xyz = p.xyz + (s.xyz*2.0 - 1.0) * s.www;

return p;
}

// (sqrt(5) - 1)/4 = F4, used once below
#define F4 0.309016994374947451

float snoise(vec4 v)
{
const vec4 C = vec4( 0.138196601125011, // (5 - sqrt(5))/20 G4
0.276393202250021, // 2 * G4
0.414589803375032, // 3 * G4
-0.447213595499958); // -1 + 4 * G4

// First corner
vec4 i = floor(v + dot(v, vec4(F4)) );
vec4 x0 = v - i + dot(i, C.xxxx);

// Other corners

// Rank sorting originally contributed by Bill Licea-Kane, AMD (formerly ATI)
vec4 i0;
vec3 isX = step( x0.yzw, x0.xxx );
vec3 isYZ = step( x0.zww, x0.yyz );
// i0.x = dot( isX, vec3( 1.0 ) );
i0.x = isX.x + isX.y + isX.z;
i0.yzw = 1.0 - isX;
// i0.y += dot( isYZ.xy, vec2( 1.0 ) );
i0.y += isYZ.x + isYZ.y;
i0.zw += 1.0 - isYZ.xy;
i0.z += isYZ.z;
i0.w += 1.0 - isYZ.z;

// i0 now contains the unique values 0,1,2,3 in each channel
vec4 i3 = clamp( i0, 0.0, 1.0 );
vec4 i2 = clamp( i0-1.0, 0.0, 1.0 );
vec4 i1 = clamp( i0-2.0, 0.0, 1.0 );

// x0 = x0 - 0.0 + 0.0 * C.xxxx
// x1 = x0 - i1 + 1.0 * C.xxxx
// x2 = x0 - i2 + 2.0 * C.xxxx
// x3 = x0 - i3 + 3.0 * C.xxxx
// x4 = x0 - 1.0 + 4.0 * C.xxxx
vec4 x1 = x0 - i1 + C.xxxx;
vec4 x2 = x0 - i2 + C.yyyy;
vec4 x3 = x0 - i3 + C.zzzz;
vec4 x4 = x0 + C.wwww;

// Permutations
i = mod289(i);
float j0 = permute( permute( permute( permute(i.w) + i.z) + i.y) + i.x);
vec4 j1 = permute( permute( permute( permute (
i.w + vec4(i1.w, i2.w, i3.w, 1.0 ))
+ i.z + vec4(i1.z, i2.z, i3.z, 1.0 ))
+ i.y + vec4(i1.y, i2.y, i3.y, 1.0 ))
+ i.x + vec4(i1.x, i2.x, i3.x, 1.0 ));

// Gradients: 7x7x6 points over a cube, mapped onto a 4-cross polytope
// 7*7*6 = 294, which is close to the ring size 17*17 = 289.
vec4 ip = vec4(1.0/294.0, 1.0/49.0, 1.0/7.0, 0.0) ;

vec4 p0 = grad4(j0, ip);
vec4 p1 = grad4(j1.x, ip);
vec4 p2 = grad4(j1.y, ip);
vec4 p3 = grad4(j1.z, ip);
vec4 p4 = grad4(j1.w, ip);

// Normalise gradients
vec4 norm = taylorInvSqrt(vec4(dot(p0,p0), dot(p1,p1), dot(p2, p2), dot(p3,p3)));
p0 *= norm.x;
p1 *= norm.y;
p2 *= norm.z;
p3 *= norm.w;
p4 *= taylorInvSqrt(dot(p4,p4));

// Mix contributions from the five corners
vec3 m0 = max(0.6 - vec3(dot(x0,x0), dot(x1,x1), dot(x2,x2)), 0.0);
vec2 m1 = max(0.6 - vec2(dot(x3,x3), dot(x4,x4) ), 0.0);
m0 = m0 * m0;
m1 = m1 * m1;
return 49.0 * ( dot(m0*m0, vec3( dot( p0, x0 ), dot( p1, x1 ), dot( p2, x2 )))
+ dot(m1*m1, vec2( dot( p3, x3 ), dot( p4, x4 ) ) ) ) ;

}

#define OCTAVES 6

uniform float uTime;
uniform vec2 uMouse;
uniform vec2 uResolution;

varying vec2 vUv;
varying vec3 vPosition;

float fbm4d(vec4 p){
float sum=0.;
float amp=1.;
float scale=1.;
for(int i=0;i<OCTAVES;i++){
sum+=snoise(p*scale)*amp;
p.w+=100.;
amp*=.9;
scale*=2.;
}
return sum;
}

void main(){
vec4 p=vec4(vPosition*4.,uTime*.025);
float noise=fbm4d(p);
vec4 p1=vec4(vPosition*2.,uTime*.25);
float spot=max(snoise(p1),0.);
vec4 color=vec4(noise);
color*=mix(1.,spot,.7);
gl_FragColor=color;
}

本体着色器

顶点

创建了 3 个运动层(分别沿着 xy、xz 和 yz 轴旋转),为片元的多重采样提供位置基础

1
2
3
4
5
6
7
8
9
10
11
12
13
14
15
16
17
18
19
20
21
22
23
24
25
26
27
28
29
30
31
32
33
34
35
36
37
38
39
40
41
42
43
44
45
46
47
48
49
50
51
52
53
54
55
56
57
58
59
60
61
62
63
64
65
66
67
68
69
70
71
72
73
74
75
76
77
78
mat2 rotation2d(float angle) {
float s = sin(angle);
float c = cos(angle);

return mat2(
c, -s,
s, c
);
}

mat4 rotation3d(vec3 axis, float angle) {
axis = normalize(axis);
float s = sin(angle);
float c = cos(angle);
float oc = 1.0 - c;

return mat4(
oc * axis.x * axis.x + c, oc * axis.x * axis.y - axis.z * s, oc * axis.z * axis.x + axis.y * s, 0.0,
oc * axis.x * axis.y + axis.z * s, oc * axis.y * axis.y + c, oc * axis.y * axis.z - axis.x * s, 0.0,
oc * axis.z * axis.x - axis.y * s, oc * axis.y * axis.z + axis.x * s, oc * axis.z * axis.z + c, 0.0,
0.0, 0.0, 0.0, 1.0
);
}

vec2 rotate(vec2 v, float angle) {
return rotation2d(angle) * v;
}

vec3 rotate(vec3 v, vec3 axis, float angle) {
return (rotation3d(axis, angle) * vec4(v, 1.0)).xyz;
}

// https://tympanus.net/codrops/2019/10/29/real-time-multiside-refraction-in-three-steps/
vec3 getEyeVector(mat4 modelMat,vec3 pos,vec3 camPos){
vec4 worldPosition=modelMat*vec4(pos,1.);
vec3 eyeVector=normalize(worldPosition.xyz-camPos);
return eyeVector;
}

const float HALF_PI=1.570796327;

uniform float uTime;
uniform float uVelocity;
uniform float uStagger;

varying vec2 vUv;
varying vec3 vPosition;
varying vec3 vLayer1;
varying vec3 vLayer2;
varying vec3 vLayer3;
varying vec3 vNormal;
varying vec3 vEyeVector;

void main(){
vec4 modelPosition=modelMatrix*vec4(position,1.);
vec4 viewPosition=viewMatrix*modelPosition;
vec4 projectedPosition=projectionMatrix*viewPosition;
gl_Position=projectedPosition;

vec3 pos=position;
float displacement1=uVelocity*uTime;
float displacement2=uVelocity*(uTime*1.5+uStagger*1.);
float displacement3=uVelocity*(uTime*2.+uStagger*2.);
vec3 xy=vec3(1.,1.,0.);
vec3 xz=vec3(1.,0.,1.);
vec3 yz=vec3(0.,1.,1.);
vec3 layer1=rotate(pos,xy,displacement1);
vec3 layer2=rotate(pos,xz,displacement2);
vec3 layer3=rotate(pos,yz,displacement3);

vUv=uv;
vPosition=position;
vLayer1=layer1;
vLayer2=layer2;
vLayer3=layer3;
vNormal=normal;
vEyeVector=getEyeVector(modelMatrix,position,cameraPosition);
}

片元

对噪声贴图进行多重采样,并应用菲涅尔反射公式形成光的效果

firePalette函数是笔者之前逛shadertoy时看到的一种模拟火焰颜色的函数,觉得不错就直接拿来用了

1
2
3
4
5
6
7
8
9
10
11
12
13
14
15
16
17
18
19
20
21
22
23
24
25
26
27
28
29
30
31
32
33
34
35
36
37
38
39
40
41
42
43
44
45
46
// https://www.shadertoy.com/view/4scSW4
float fresnel(float bias,float scale,float power,vec3 I,vec3 N)
{
return bias+scale*pow(1.+dot(I,N),power);
}

// https://www.shadertoy.com/view/XlSSzK
vec3 firePalette(float i){
float T=1400.+1300.*i;// Temperature range (in Kelvin).
vec3 L=vec3(7.4,5.6,4.4);// Red, green, blue wavelengths (in hundreds of nanometers).
L=pow(L,vec3(5.))*(exp(1.43876719683e5/(T*L))-1.);
return 1.-exp(-5e8/L);// Exposure level. Set to "50." For "70," change the "5" to a "7," etc.
}

uniform float uTime;
uniform vec2 uMouse;
uniform vec2 uResolution;
uniform samplerCube uNoiseTexture;
uniform float uBrightness;

varying vec2 vUv;
varying vec3 vPosition;
varying vec3 vLayer1;
varying vec3 vLayer2;
varying vec3 vLayer3;
varying vec3 vNormal;
varying vec3 vEyeVector;

float layerSum(){
float sum=0.;
sum+=textureCube(uNoiseTexture,vLayer1).r;
sum+=textureCube(uNoiseTexture,vLayer2).r;
sum+=textureCube(uNoiseTexture,vLayer3).r;
sum*=uBrightness;
return sum;
}

void main(){
float brightness=layerSum();
brightness=4.*brightness+1.;
float F=fresnel(0.,1.,2.,vEyeVector,vNormal);
brightness+=F;
brightness*=.5;
vec4 color=vec4(firePalette(brightness),1.);
gl_FragColor=color;
}

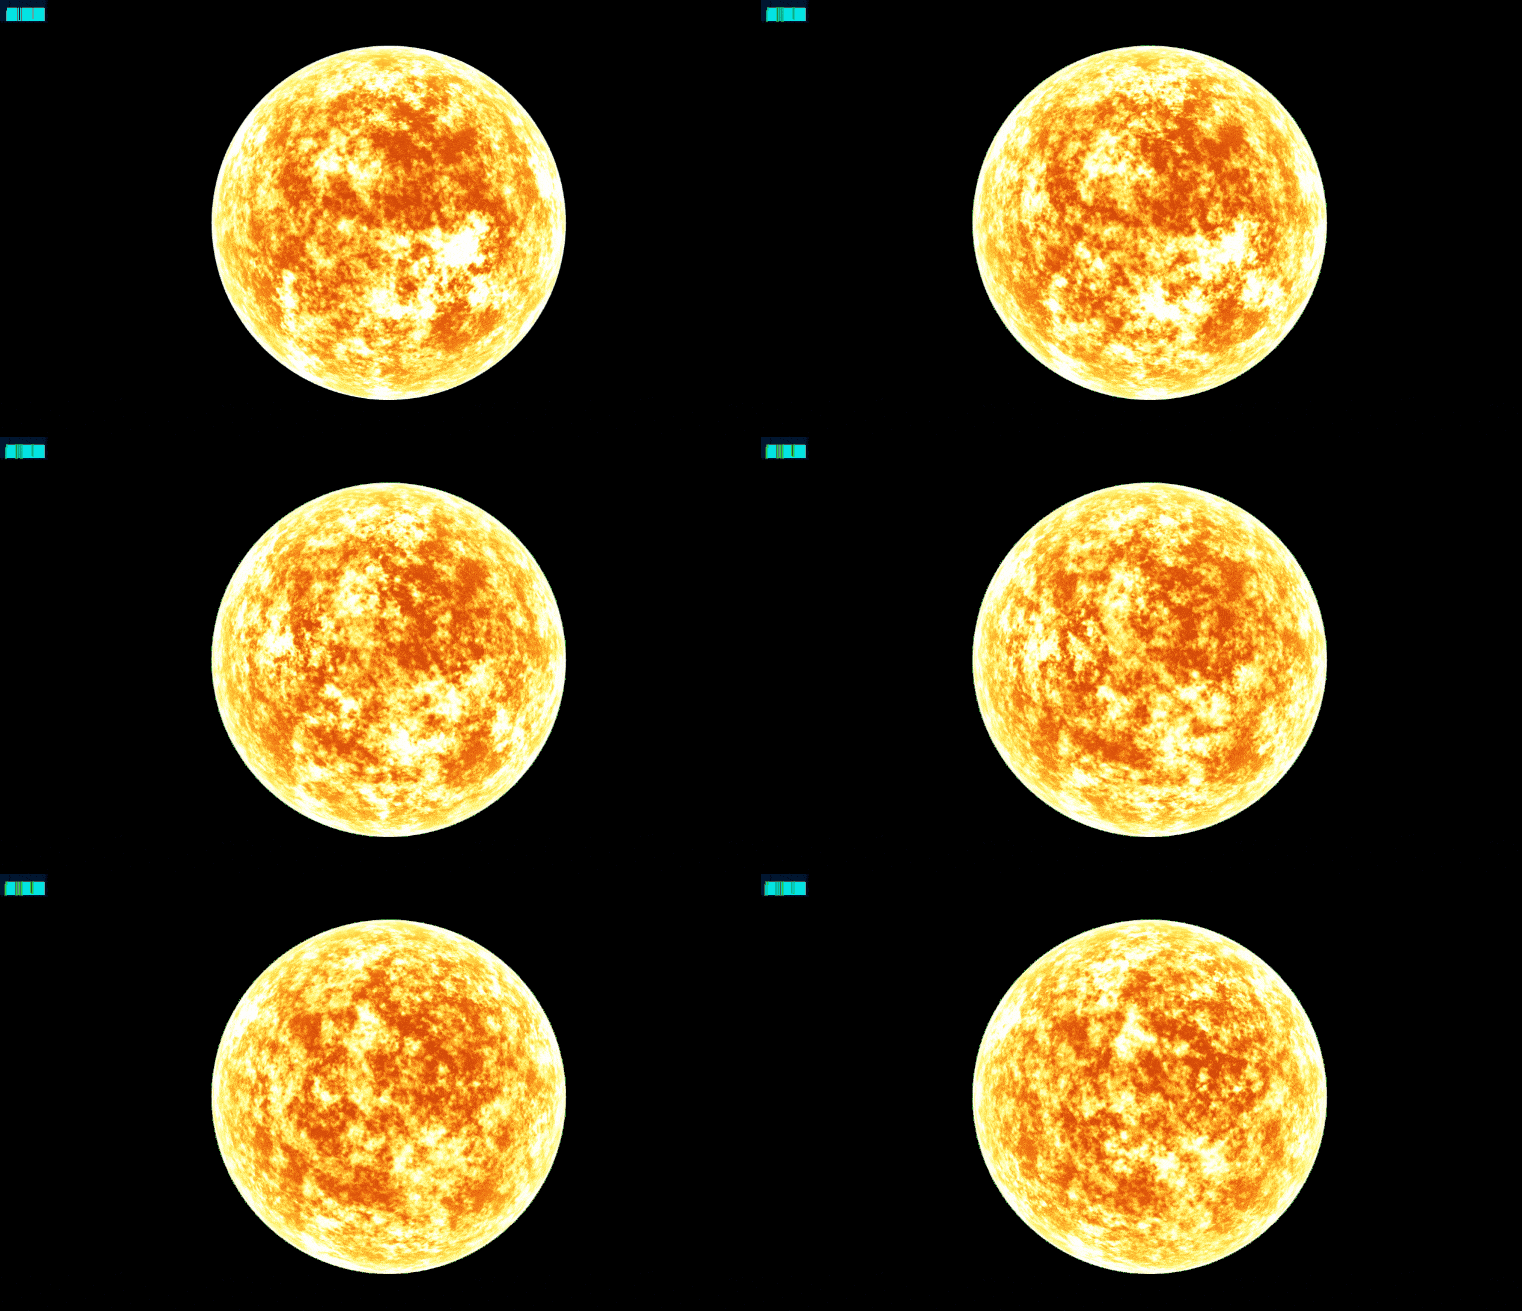
sun-base.gif

太阳的本体完成了,接下来来实现它外层的那圈光环

外环着色器

顶点

跟模板相同,略

片元

创建一层辐射渐变,并应用火焰的颜色即可

1
2
3
4
5
6
7
8
9
10
11
12
13
14
15
16
17
18
19
20
21
22
23
24
25
26
27
28
29
30
31
float invert(float n){
return 1.-n;
}

vec3 invert(vec3 n){
return 1.-n;
}

// https://www.shadertoy.com/view/XlSSzK
vec3 firePalette(float i){
float T=1400.+1300.*i;// Temperature range (in Kelvin).
vec3 L=vec3(7.4,5.6,4.4);// Red, green, blue wavelengths (in hundreds of nanometers).
L=pow(L,vec3(5.))*(exp(1.43876719683e5/(T*L))-1.);
return 1.-exp(-5e8/L);// Exposure level. Set to "50." For "70," change the "5" to a "7," etc.
}

uniform float uTime;
uniform vec2 uMouse;
uniform vec2 uResolution;

varying vec2 vUv;
varying vec3 vPosition;

void main(){
float radial=invert(vPosition.z);
radial=pow(radial,3.);
float brightness=(1.+radial*.83)*radial*.4;
vec3 ringColor=firePalette(brightness);
vec4 color=vec4(ringColor,radial);
gl_FragColor=color;
}

sun.gif

Long may the sunshine.

项目地址

Sun

Author: alphardex
Link: https://alphardex.github.io/mygo/posts/14082/
Copyright Notice: All articles in this blog are licensed under CC BY-NC-SA 4.0 unless stating additionally.