相信不久前大家已经被这个粒子动画给刷屏了吧:
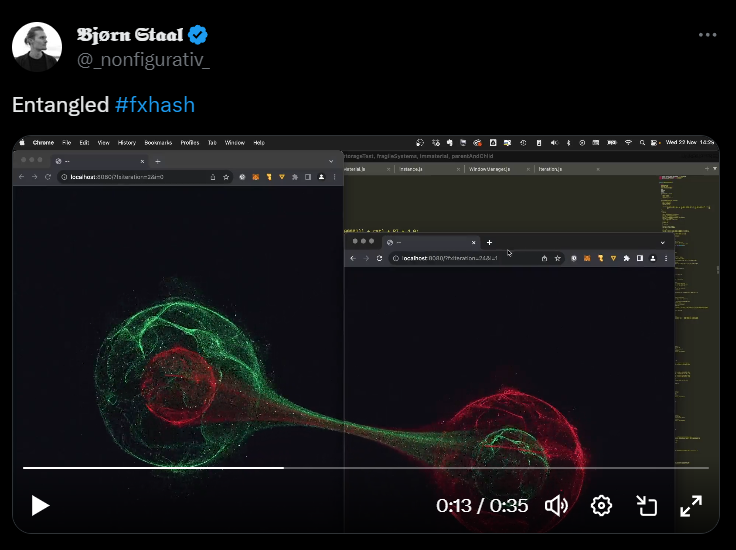
之前看过很多人都在分析跟这个效果相关的跨窗口通信技术,尽管这样是挺好,但我依旧有点纳闷:为什么没有人讲讲背后的粒子特效是怎么实现的呢?
于是乎,我花了一整个周末,把这个粒子特效给肝了出来。尽管可能跟原特效相比有一点差距,但也表明了这种效果是可以实现的。
在线体验:https://entangled-fxhash.netlify.app/
本文就让我们来看看实现这个粒子特效有哪些要点吧~
GPGPU
当我第一眼看到原特效时,发现那个球体是由大量的粒子组成的,第一反应就是THREE.Points,但是又转念一想,光这个是不够的,因为在粒子量足够大的情况下,同时渲染大量的运动粒子肯定会遇到性能上的瓶颈。
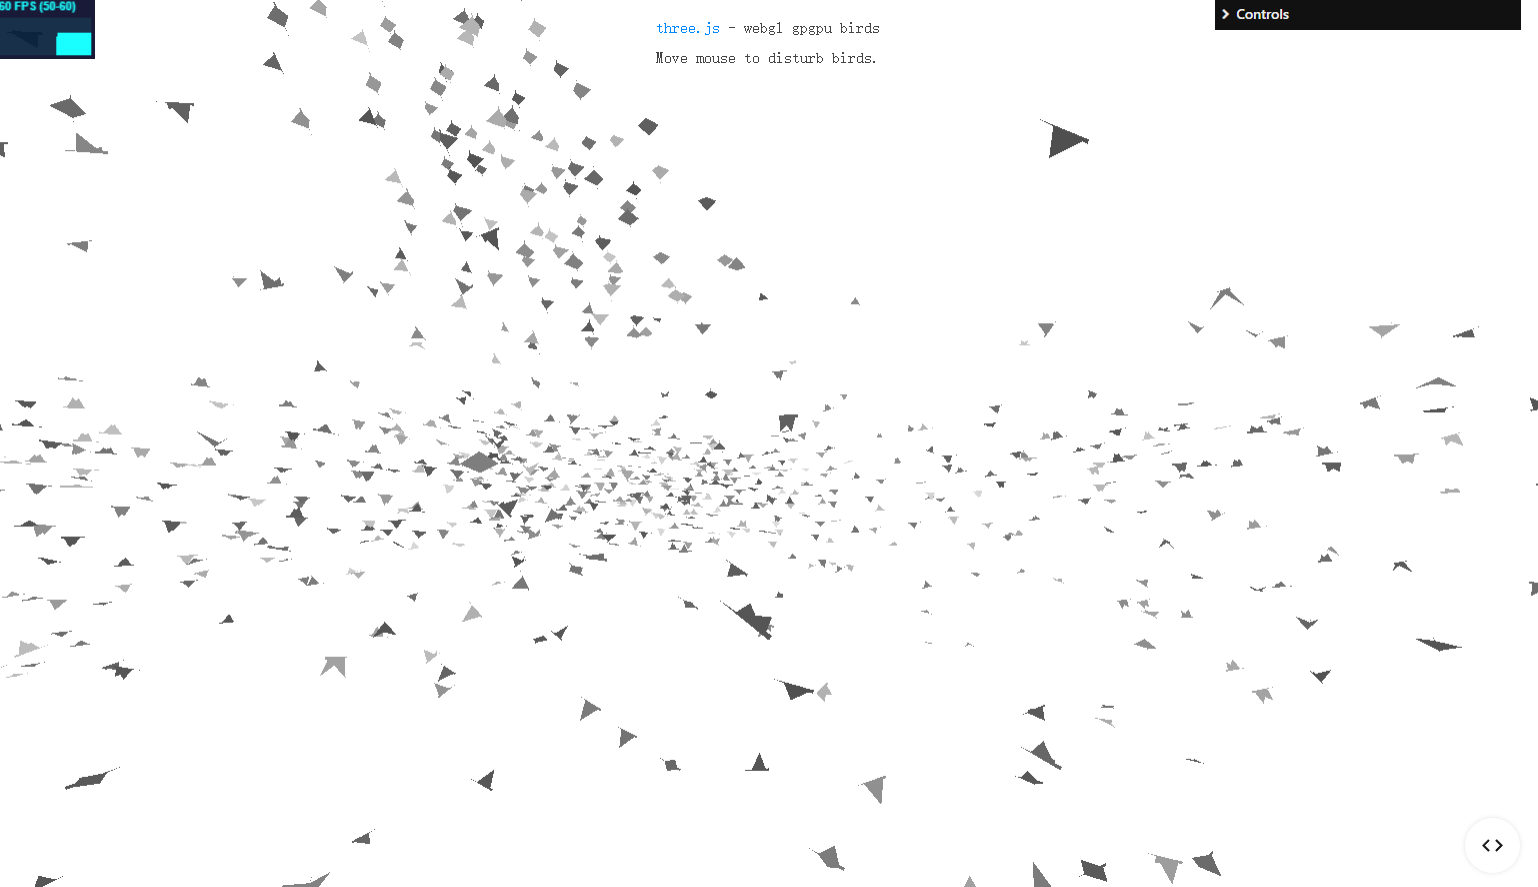
然后,我又想到了另一个技术——GPGPU,中文翻译是“图形处理器通用计算”,尽管这个概念看上去很复杂,但其实也很简单——利用GPU的并行特性来执行一些和图形渲染无关的计算任务,如模拟粒子系统等。在粒子非常多的情况下,用它就能满足性能上的需求。
three.js的官方文档上有一个模拟鸟群飞行的效果,就用到了这个技术,可以把鸟群飞行看作是一个不断运动着的粒子系统。
那么如何使用GPGPU呢?大致步骤如下:
- 创建
GPGPU对象,three.js里是GPUComputationRenderer;
- 创建数据纹理,用来存储需要
GPU计算的数据;
- 创建
GPGPU变量,每个变量需要一个对应的Compute Shader(计算着色器),用来处理变量的计算逻辑;
- 初始化
GPGPU,并在渲染循环中使其不断计算,将GPGPU变量计算得来的结果作为纹理变量赋给需要的材质。
以下是我的粒子效果用到的相关代码:
1
2
3
4
5
6
7
8
9
10
11
12
13
14
15
16
17
18
19
20
21
22
23
24
25
26
27
28
29
30
31
32
33
34
35
| const width = 512;
const size = 256;
const count = width ** 2;
const gpgpu = new kokomi.GPUComputer(this.base, {
width,
});
const posDt = gpgpu.createTexture();
const data = posDt.image.data;
for (let i = 0; i < data.length; i++) {
data[i * 4 + 0] = THREE.MathUtils.randFloatSpread(size);
data[i * 4 + 1] = THREE.MathUtils.randFloatSpread(size);
data[i * 4 + 2] = THREE.MathUtils.randFloatSpread(size);
data[i * 4 + 3] = 1;
}
const posVar = gpgpu.createVariable(
"texturePosition",
testObjectComputeShader,
posDt,
{
uFreq: {
value: 1,
},
...
}
);
gpgpu.init();
|
粒子的本体还是用THREE.Points,只不过geometry用的是自定义的BufferGeometry,里面可以填充一些随机的位置数据position,同时也要加上用来采样GPGPU纹理的UV坐标reference。
1
2
3
4
5
6
7
8
9
10
11
12
13
14
15
| const geometry = new THREE.BufferGeometry();
const positions = new Float32Array(count * 3);
const references = new Float32Array(count * 2);
for (let i = 0; i < width; i++) {
for (let j = 0; j < width; j++) {
const idx = i + j * width;
positions[idx * 3 + 0] = Math.random();
positions[idx * 3 + 1] = Math.random();
positions[idx * 3 + 2] = Math.random();
references[idx * 2 + 0] = i / width;
references[idx * 2 + 1] = j / width;
}
}
geometry.setAttribute("position", new THREE.BufferAttribute(positions, 3));
geometry.setAttribute("reference", new THREE.BufferAttribute(references, 2));
|
材质的话就用自定义着色器材质ShaderMaterial。
1
2
3
4
5
6
7
8
9
10
11
12
13
14
15
16
17
18
| const material = new THREE.ShaderMaterial({
vertexShader: testObjectVertexShader,
fragmentShader: testObjectFragmentShader,
uniforms: {
texturePosition: {
value: null,
},
uPointSize: {
value: 1,
},
uPixelRatio: {
value: this.base.renderer.getPixelRatio(),
},
},
transparent: true,
blending: THREE.AdditiveBlending,
depthWrite: false,
});
|
顶点着色器中,我们要采样GPGPU帮我们计算得来的粒子位置。
1
2
3
4
5
6
7
8
9
10
11
12
13
| uniform float uPointSize;
uniform float uPixelRatio;
uniform sampler2D texturePosition;
attribute vec2 reference;
void main(){
vec3 p=texture(texturePosition,reference).xyz;
gl_Position=projectionMatrix*modelViewMatrix*vec4(p,1.);
gl_PointSize=uPointSize*uPixelRatio;
}
|
片元着色器直接输出粒子的颜色即可。
1
2
3
4
| void main(){
vec4 col=vec4(0.,1.,0.,1.);
gl_FragColor=col;
}
|
然后就是创建微粒对象,并将它放到场景中,在渲染循环中给它的材质注入GPGPU计算得来的纹理数据。
1
2
3
4
5
6
7
| const points = new THREE.Points(geometry, material);
this.scene.add(points);
this.update(() => {
const mat = points.material;
mat.uniforms.texturePosition.value = gpgpu.getVariableRt(posVar);
});
|
准备工作都已到位,接下来让我们开始进入真正的重头戏——Compute Shader。
Compute Shader
计算着色器的格式跟片元着色器类似,都是输出gl_FragColor,只不过这里的color代表的是GPU变量的值,在这里,我们用texturePosition作为了GPU变量,也就是粒子的位置,在着色器顶部声明好它。
1
| uniform sampler2D texturePosition;
|
在主函数中,我们计算好UV坐标,并用它来采样texturePosition纹理。
1
2
3
4
5
| void main(){
vec2 uv=gl_FragCoord.xy/resolution.xy;
vec3 pos=texture(texturePosition,uv).xyz;
gl_FragColor=vec4(pos,1.);
}
|
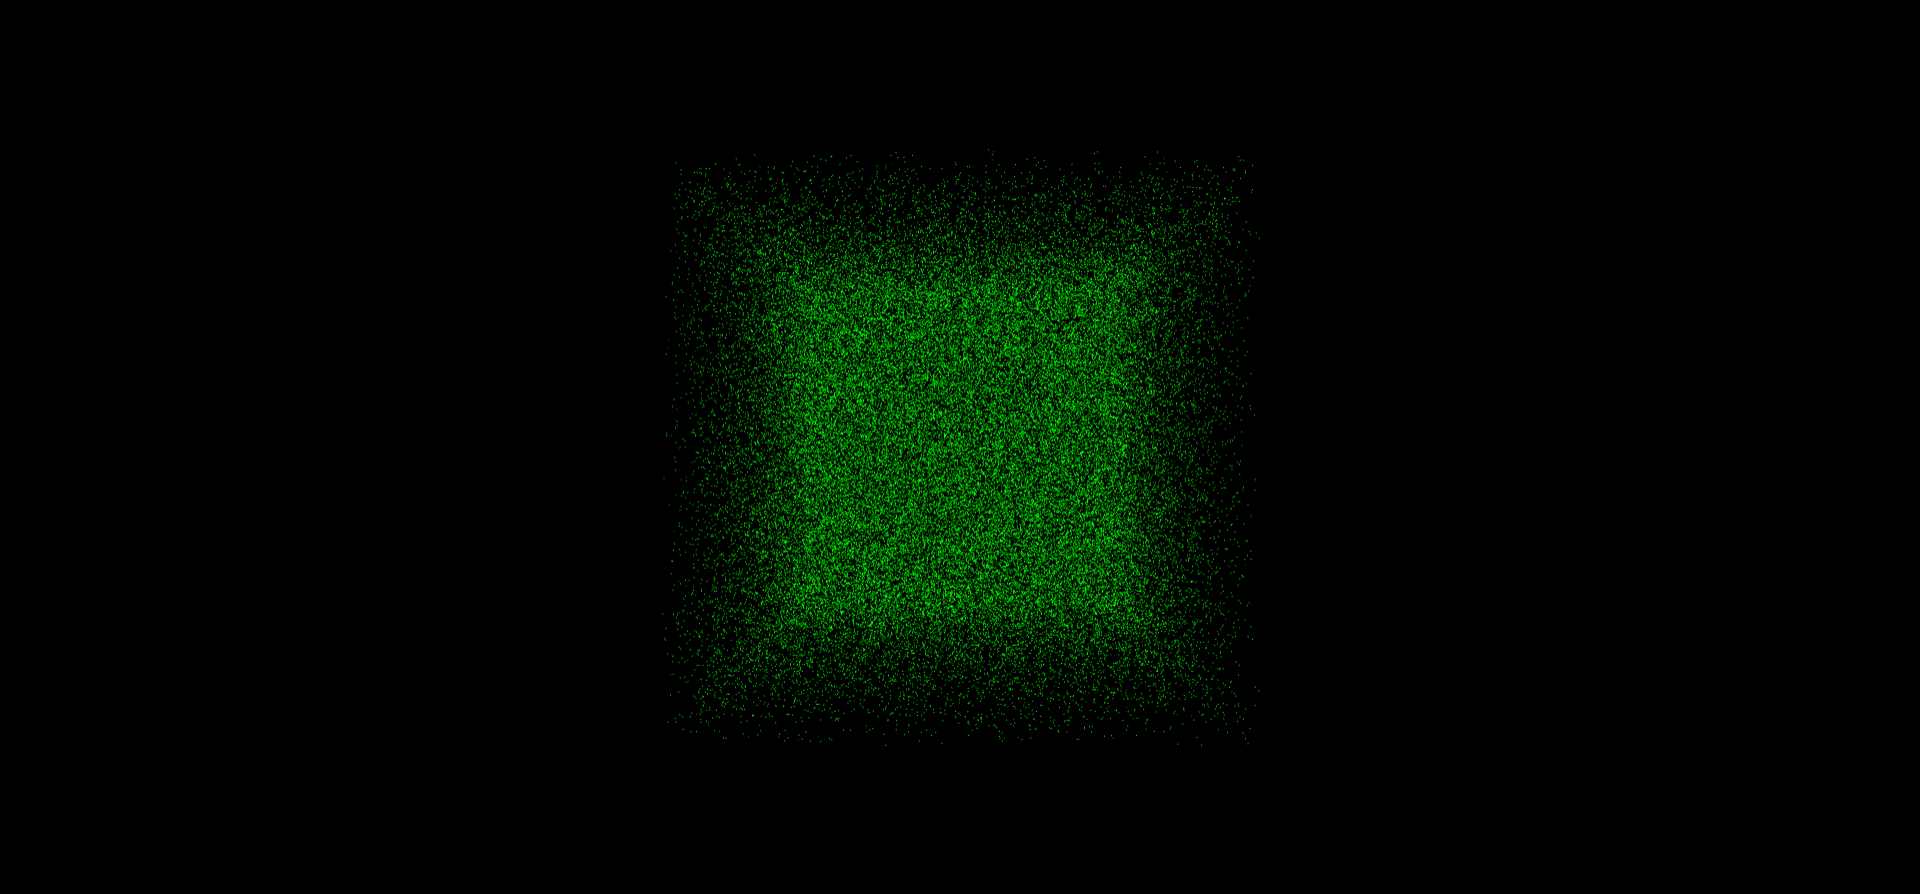
这里我们直接输出了位置纹理的原始数据,可以看到就是一堆随机的离散点。
是时候让这些点动起来了!给位置变量pos应用噪声函数吧,我选择了卷曲噪声curl。
这里用到了Shader函数库lygia,里面有很多实用的噪声函数。
1
2
3
4
5
6
7
8
| #include "/node_modules/lygia/generative/curl.glsl"
void main(){
vec2 uv=gl_FragCoord.xy/resolution.xy;
vec3 pos=texture(texturePosition,uv).xyz;
pos=curl(pos);
gl_FragColor=vec4(pos,1.);
}
|
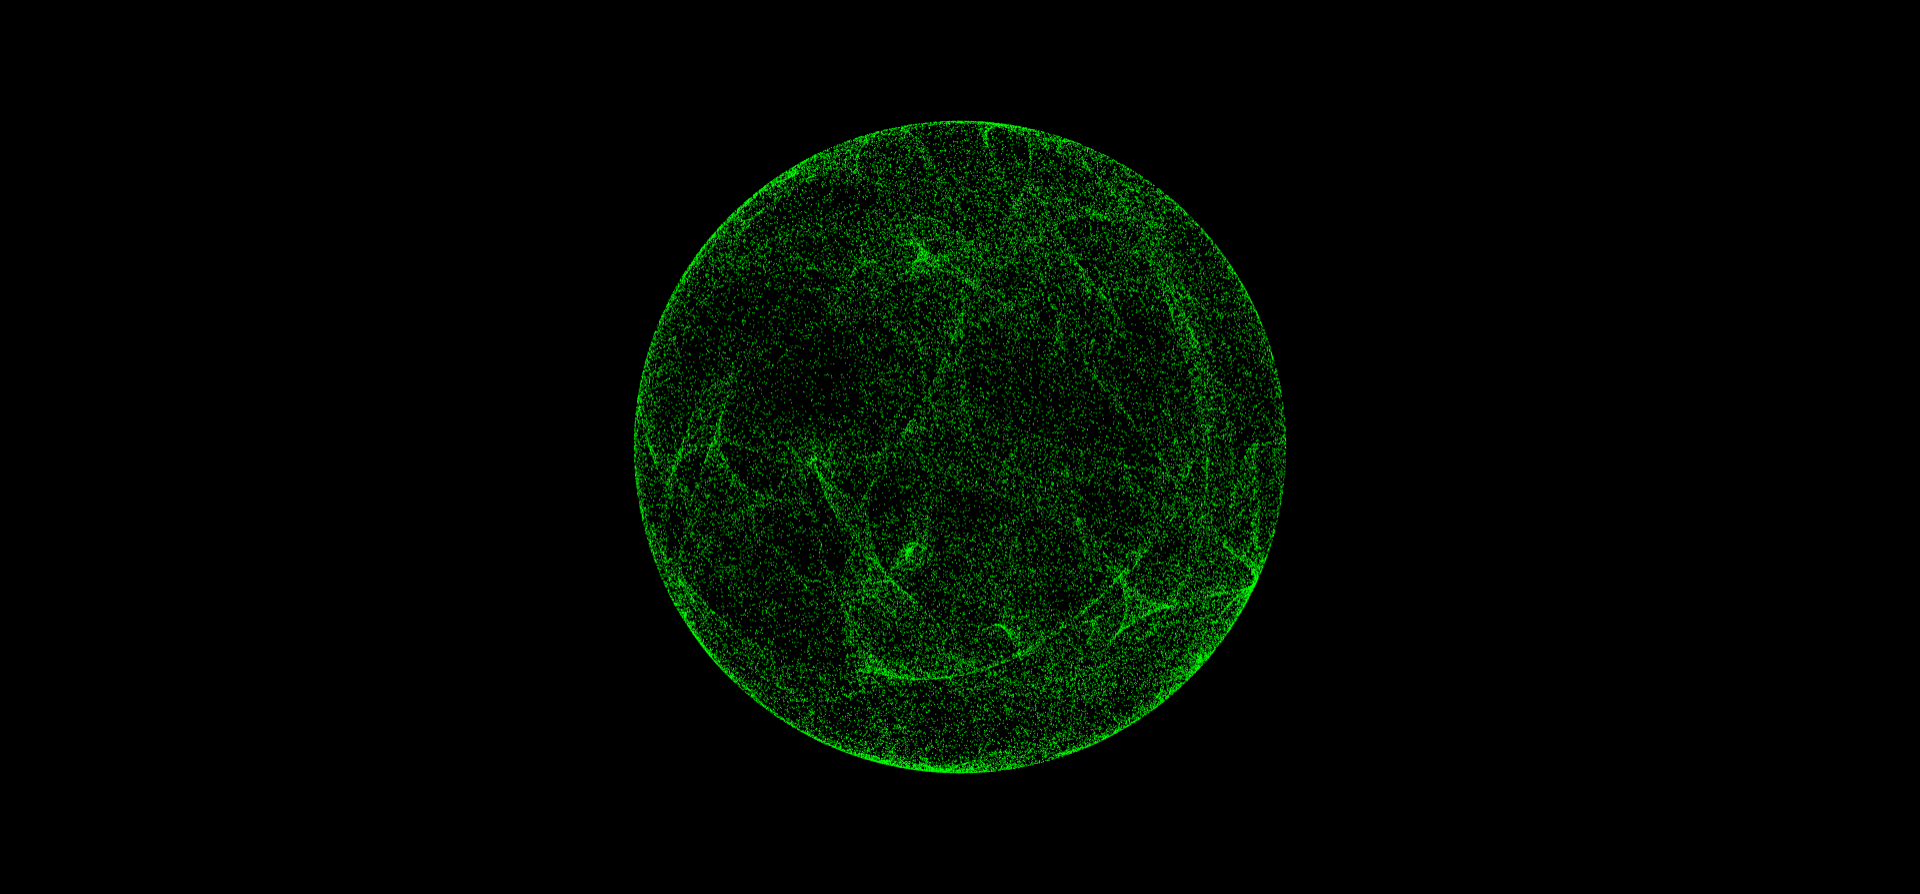
之前离散的点立马就变成了一个美丽的噪声球体。
除了单个卷曲噪声外,我们还可以用fbm,产生一个更加混沌的结果。
1
2
3
4
5
6
7
8
9
10
11
12
13
14
15
16
17
18
19
20
21
22
23
24
25
26
27
| vec3 fbm(vec3 p){
vec3 value=p;
float amplitude=.5;
float frequency=2.;
float lacunarity=2.;
float persistance=.5;
float scale=.5;
int octaves=1;
for(int i=0;i<octaves;i++){
vec3 noiseVal=curl(value*frequency*scale);
value+=amplitude*noiseVal;
frequency*=lacunarity;
amplitude*=persistance;
}
return value;
}
void main(){
vec2 uv=gl_FragCoord.xy/resolution.xy;
vec3 pos=texture(texturePosition,uv).xyz;
pos=curl(pos*uFreq);
pos=fbm(pos);
gl_FragColor=vec4(pos,1.);
}
|
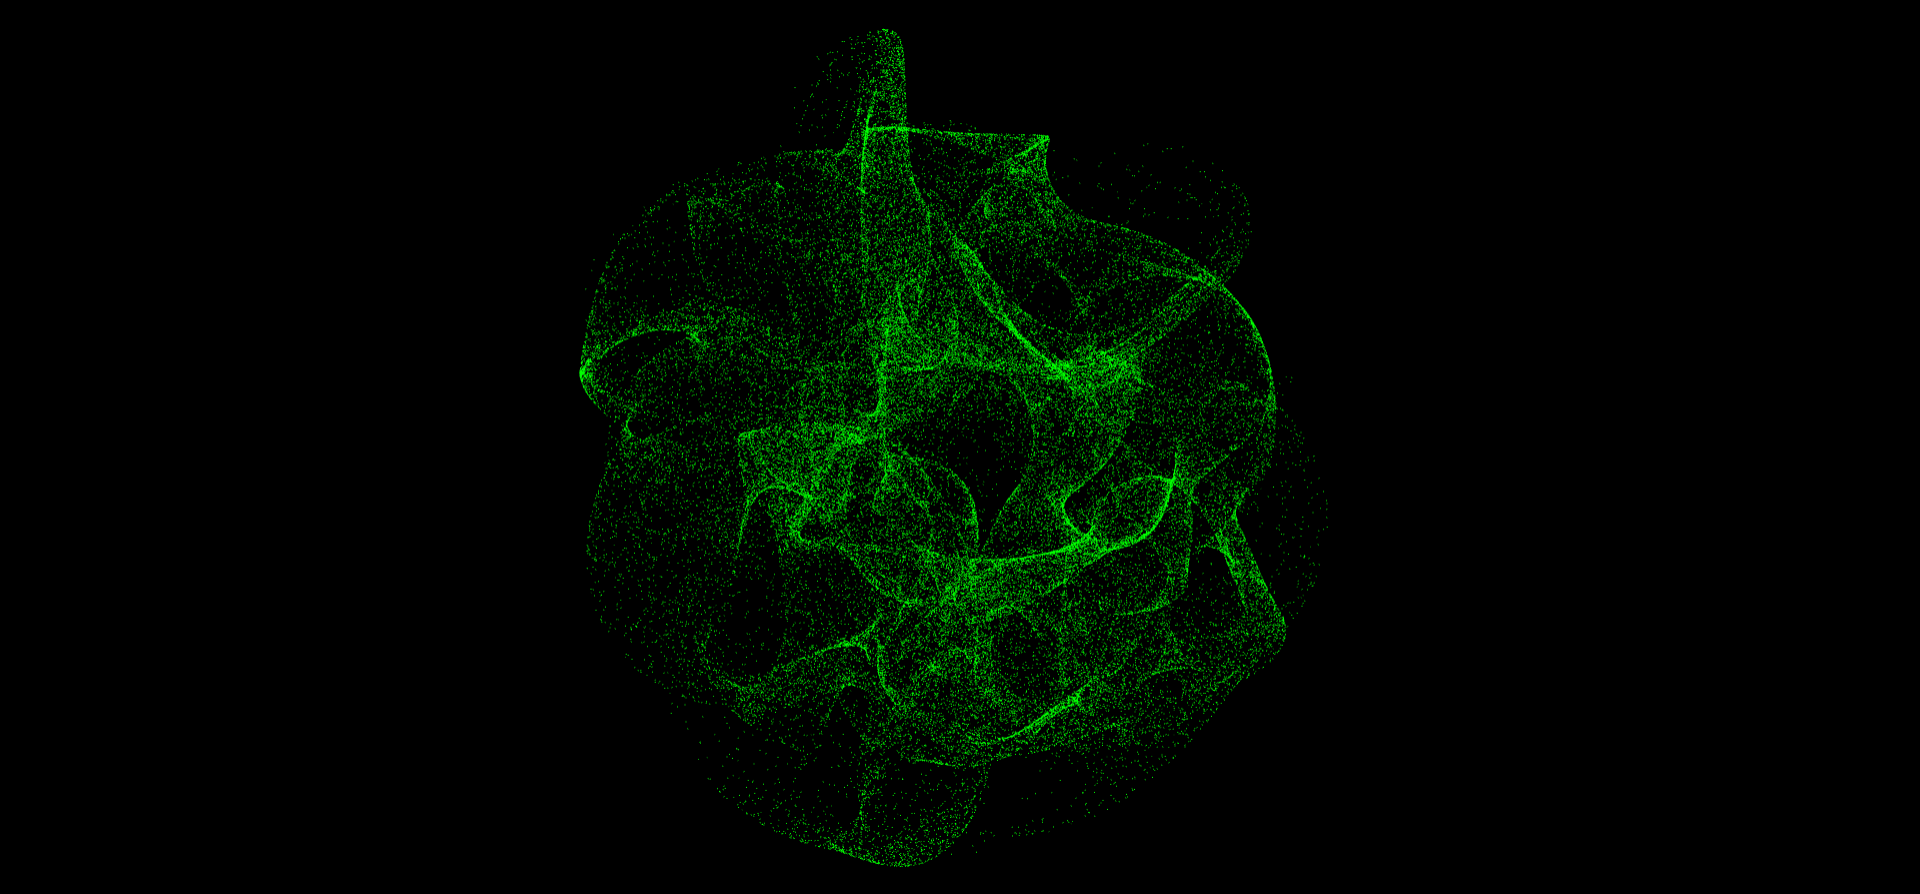
但这个结果太混沌了,跟之前的球体相差有点大。我们可以用mix函数来将它和球体有机地混合起来,混合因子也可以用其他的噪声函数来计算。
1
2
3
4
5
6
7
8
9
10
11
12
13
14
15
| void main(){
vec2 uv=gl_FragCoord.xy/resolution.xy;
vec3 col=vec3(0.);
vec3 pos=texture(texturePosition,uv).xyz;
pos=curl(pos*uFreq);
col=pos;
vec3 pos2=texture(texturePosition,uv).xyz;
pos2=curl(pos2*uFreq);
pos2=fbm(pos2);
col=pos2;
float mixFactor=0.;
mixFactor=cnoise(pos+iTime)*.5;
col=mix(pos,pos2,mixFactor);
gl_FragColor=vec4(col,1.);
}
|
此外,我们可以做一个拉伸球的动画,用作后面纠缠动画的基础,思路如下:定义一个牵引点,用sdf函数算出牵引距离,再求得牵引方向向量,给位置变量应用它们的乘积即可。
1
2
3
4
5
6
7
8
9
10
11
12
13
14
15
| #include "/node_modules/lygia/sdf/boxSDF.glsl"
void main(){
vec2 uv=gl_FragCoord.xy/resolution.xy;
...
vec3 attract=uAttract;
float attractX=abs(attract.x);
float d=boxSDF(col-attract,vec3(attractX,.25,.25));
vec3 dir=normalize(col-attract);
col-=dir*smoothstep(.2,.0,d)*(attractX-1.);
gl_FragColor=vec4(col,1.);
}
|
至于两球相互纠缠,emmmm,说实话我直接用了原作者开源的项目里的WindowManager来实现的,把里面的方块替换成了我的粒子球体,最终结果就是文章开头的那个动画。
最后
粒子效果本身差不多就这样完成了。还有一些待优化的点:
- 不用卷曲噪声“逃课”,用更加精美的扭曲方式来美化球体。
- 纠缠动画有一点生硬,并不像原效果那样丝滑、连贯。
主要还是第 2 点吧,感觉原作者是用了一种特定的算法来实现的,只可惜我不会 QAQ,还得继续努力呢~
源码
Github:https://github.com/alphardex/entangled