前言
大家好,这里是 CSS 兼 WebGL 魔法使——alphardex。
本文我们将用 three.js 来实现风暴云特效,以下是最终实现的效果图
让我们开始吧!
预备知识
为了实现这个特效,我们先简要了解一下 FBM 吧
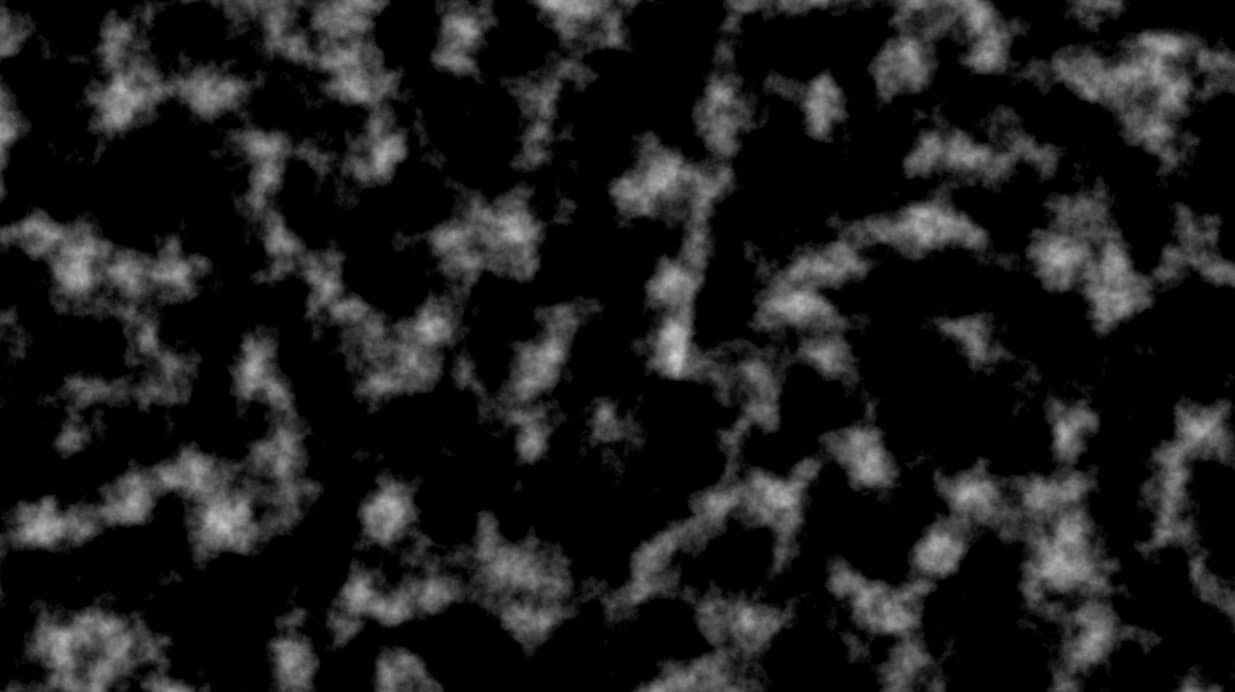
FBM 中文意思是分形布朗运动,另一种称呼是分形噪声(说明它也属于噪声的一种)。它常用于描绘各种自然之中的形状(山脉、云层、河流等)。概念是在一个 for 循环内叠加几次噪声(往往是 6 次,相当于一个八度 octave),并在叠加的同时升高频率,降低振幅。以下是一个简易的 fbm 实现的噪声图案
1
2
3
4
5
6
7
8
9
10
11
12
13
14
15
16
17
18
19
20
21
22
23
24
25
26
27
28
29
30
31
| #pragma glslify:centerUv=require(../modules/centerUv)
#pragma glslify:snoise=require(glsl-noise/simplex/2d)
uniform float uTime;
uniform vec2 uMouse;
uniform vec2 uResolution;
varying vec2 vUv;
varying vec3 vPosition;
#define OCTAVES 6
float fbm(vec2 p){
float sum=0.;
float amp=.5;
for(int i=0;i<OCTAVES;i++){
float noise=snoise(p)*amp;
sum+=noise;
p*=2.;
amp*=.5;
}
return sum;
}
void main(){
vec2 cUv=centerUv(vUv,uResolution);
vec2 p=cUv*3.;
float noise=fbm(p);
vec3 color=vec3(noise);
gl_FragColor=vec4(color,1.);
}
|
准备工作
笔者的three.js 模板:点击右下角的 fork 即可复制一份
为了将着色器模块化,需要用到glslify
同时也需要安装如下的 npm 包:glsl-noise
正片
场景搭建
创建一张铺满屏幕的平面,作为画布
1
2
3
4
5
6
7
8
9
10
11
12
13
14
15
16
17
18
19
20
21
22
23
24
25
26
27
28
29
30
31
32
33
34
35
36
37
38
39
40
41
42
43
44
45
46
47
48
49
50
51
52
53
54
55
56
57
58
59
60
61
62
63
64
65
66
67
68
69
70
71
| class CloudySky extends Base {
clock!: THREE.Clock;
cloudySkyMaterial!: THREE.ShaderMaterial;
params!: any;
constructor(sel: string, debug: boolean) {
super(sel, debug);
this.clock = new THREE.Clock();
this.cameraPosition = new THREE.Vector3(0, 0, 1);
this.params = {
velocity: 5,
skyColor: "#324678",
};
}
init() {
this.createScene();
this.createOrthographicCamera();
this.createRenderer();
this.createCloudySkyMaterial();
this.createPlane();
this.createLight();
this.trackMousePos();
this.addListeners();
this.setLoop();
}
createCloudySkyMaterial() {
const cloudySkyMaterial = new THREE.ShaderMaterial({
vertexShader: cloudySkyVertexShader,
fragmentShader: cloudySkyFragmentShader,
side: THREE.DoubleSide,
uniforms: {
uTime: {
value: 0,
},
uMouse: {
value: new THREE.Vector2(0, 0),
},
uResolution: {
value: new THREE.Vector2(window.innerWidth, window.innerHeight),
},
uVelocity: {
value: this.params.velocity,
},
uSkyColor: {
value: new THREE.Color(this.params.skyColor),
},
},
});
this.cloudySkyMaterial = cloudySkyMaterial;
this.shaderMaterial = cloudySkyMaterial;
}
createPlane() {
const geometry = new THREE.PlaneBufferGeometry(2, 2, 100, 100);
const material = this.cloudySkyMaterial;
this.createMesh({
geometry,
material,
});
}
update() {
const elapsedTime = this.clock.getElapsedTime();
const mousePos = this.mousePos;
if (this.cloudySkyMaterial) {
this.cloudySkyMaterial.uniforms.uTime.value = elapsedTime;
this.cloudySkyMaterial.uniforms.uMouse.value = mousePos;
}
}
}
|
顶点着色器直接用默认的就可以了
片元着色器
思路也是基本的 fbm 写法,只是在外层连续应用了 16 次(这样特别烧显卡,但是实现的效果很炫酷,帅就完事了),并且加上了随着时间的 x 轴位移
1
2
3
4
5
6
7
8
9
10
11
12
13
14
15
16
17
18
19
20
21
22
23
24
25
26
27
28
29
30
31
32
33
34
35
36
37
38
39
40
41
42
43
44
45
| #pragma glslify:centerUv=require(../modules/centerUv)
#pragma glslify:snoise=require(glsl-noise/simplex/3d)
#pragma glslify:invert=require(../modules/invert)
uniform float uTime;
uniform vec2 uMouse;
uniform vec2 uResolution;
uniform float uVelocity;
uniform vec3 uSkyColor;
varying vec2 vUv;
varying vec3 vPosition;
#define OCTAVES 6
float fbm(vec3 p){
float sum=0.;
float amp=1.;
for(int i=0;i<OCTAVES;i++){
vec3 r=p/amp*.2;
float noise=snoise(r)*amp;
sum+=noise;
amp*=.5;
}
return sum;
}
void main(){
vec2 cUv=centerUv(vUv,uResolution);
vec2 p=cUv;
vec3 ray=vec3(0.);
vec3 eye=normalize(vec3(p,2.));
float displacement=uTime*uVelocity;
ray.x+=displacement;
float cloud=0.;
float sum=0.;
for(int i=0;i<16;i++){
ray+=eye;
sum=fbm(ray);
sum=clamp(sum,0.,1.)*.1;
cloud+=sum;
}
vec3 color=uSkyColor+cloud;
gl_FragColor=vec4(color,1.);
}
|
最终效果如下
项目地址
Cloudy Sky