前言
大家好,这里是 CSS 魔法使——alphardex。
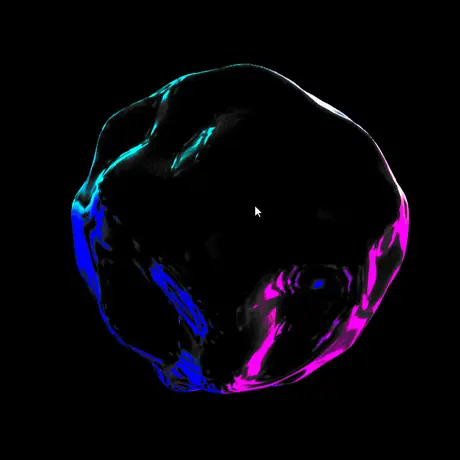
本文我们将用 three.js 来画个炫彩液晶球,以下是最终实现的效果图

让我们开始吧!
准备工作
笔者的three.js 模板:点击右下角的 fork 即可复制一份
为了将着色器模块化,需要用到glslify
同时也需要安装如下的 npm 包:glsl-noise、glsl-constants
正片
场景搭建
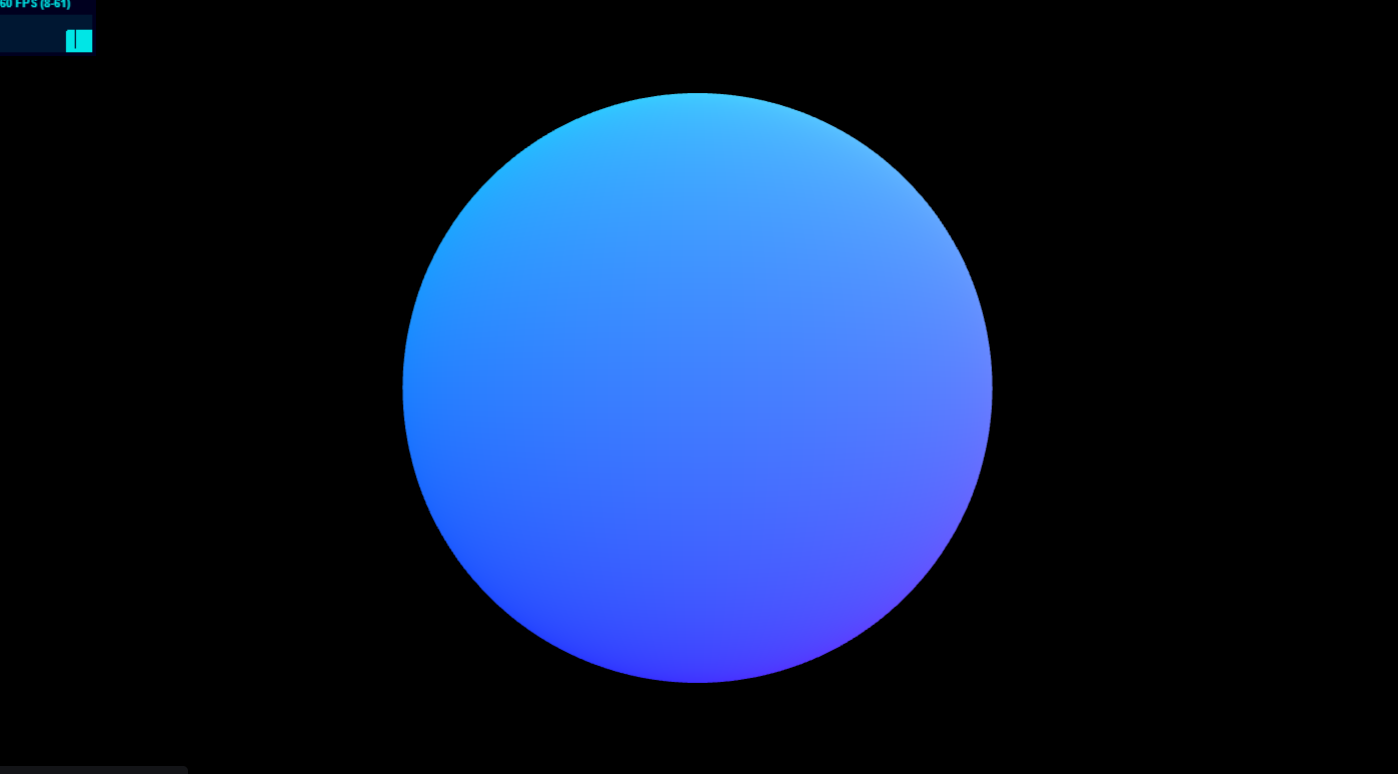
创建一个球体即可
1
2
3
4
5
6
7
8
9
10
11
12
13
14
15
16
17
18
19
20
21
22
23
24
25
26
27
28
29
30
31
32
33
34
35
36
37
38
39
40
41
42
43
44
45
46
47
48
49
50
51
52
53
54
55
56
57
58
59
60
61
62
63
64
65
66
67
68
69
| class LiquidCrystal extends Base {
constructor(sel: string, debug: boolean) {
super(sel, debug);
this.clock = new THREE.Clock();
this.cameraPosition = new THREE.Vector3(0, 0, 25);
this.params = {
timeScale: 0.1,
iriBoost: 8,
};
}
init() {
this.createScene();
this.createPerspectiveCamera();
this.createRenderer();
this.createLiquidCrystalMaterial();
this.createSphere();
this.trackMousePos();
this.createOrbitControls();
this.addListeners();
this.setLoop();
}
createLiquidCrystalMaterial() {
const liquidCrystalMaterial = new THREE.ShaderMaterial({
vertexShader: liquidCrystalVertexShader,
fragmentShader: liquidCrystalFragmentShader,
side: THREE.DoubleSide,
uniforms: {
uTime: {
value: 0,
},
uResolution: {
value: new THREE.Vector2(window.innerWidth, window.innerHeight),
},
uMouse: {
value: new THREE.Vector2(0, 0),
},
},
});
this.liquidCrystalMaterial = liquidCrystalMaterial;
}
createSphere() {
const geometry = new THREE.SphereBufferGeometry(10, 64, 64);
const material = this.liquidCrystalMaterial;
this.createMesh({
geometry,
material,
});
}
update() {
const elapsedTime = this.clock.getElapsedTime();
const time = elapsedTime * this.params.timeScale;
const mousePos = this.mousePos;
if (this.liquidCrystalMaterial) {
this.liquidCrystalMaterial.uniforms.uTime.value = time;
this.liquidCrystalMaterial.uniforms.uMouse.value = mousePos;
}
}
}
|

顶点着色器
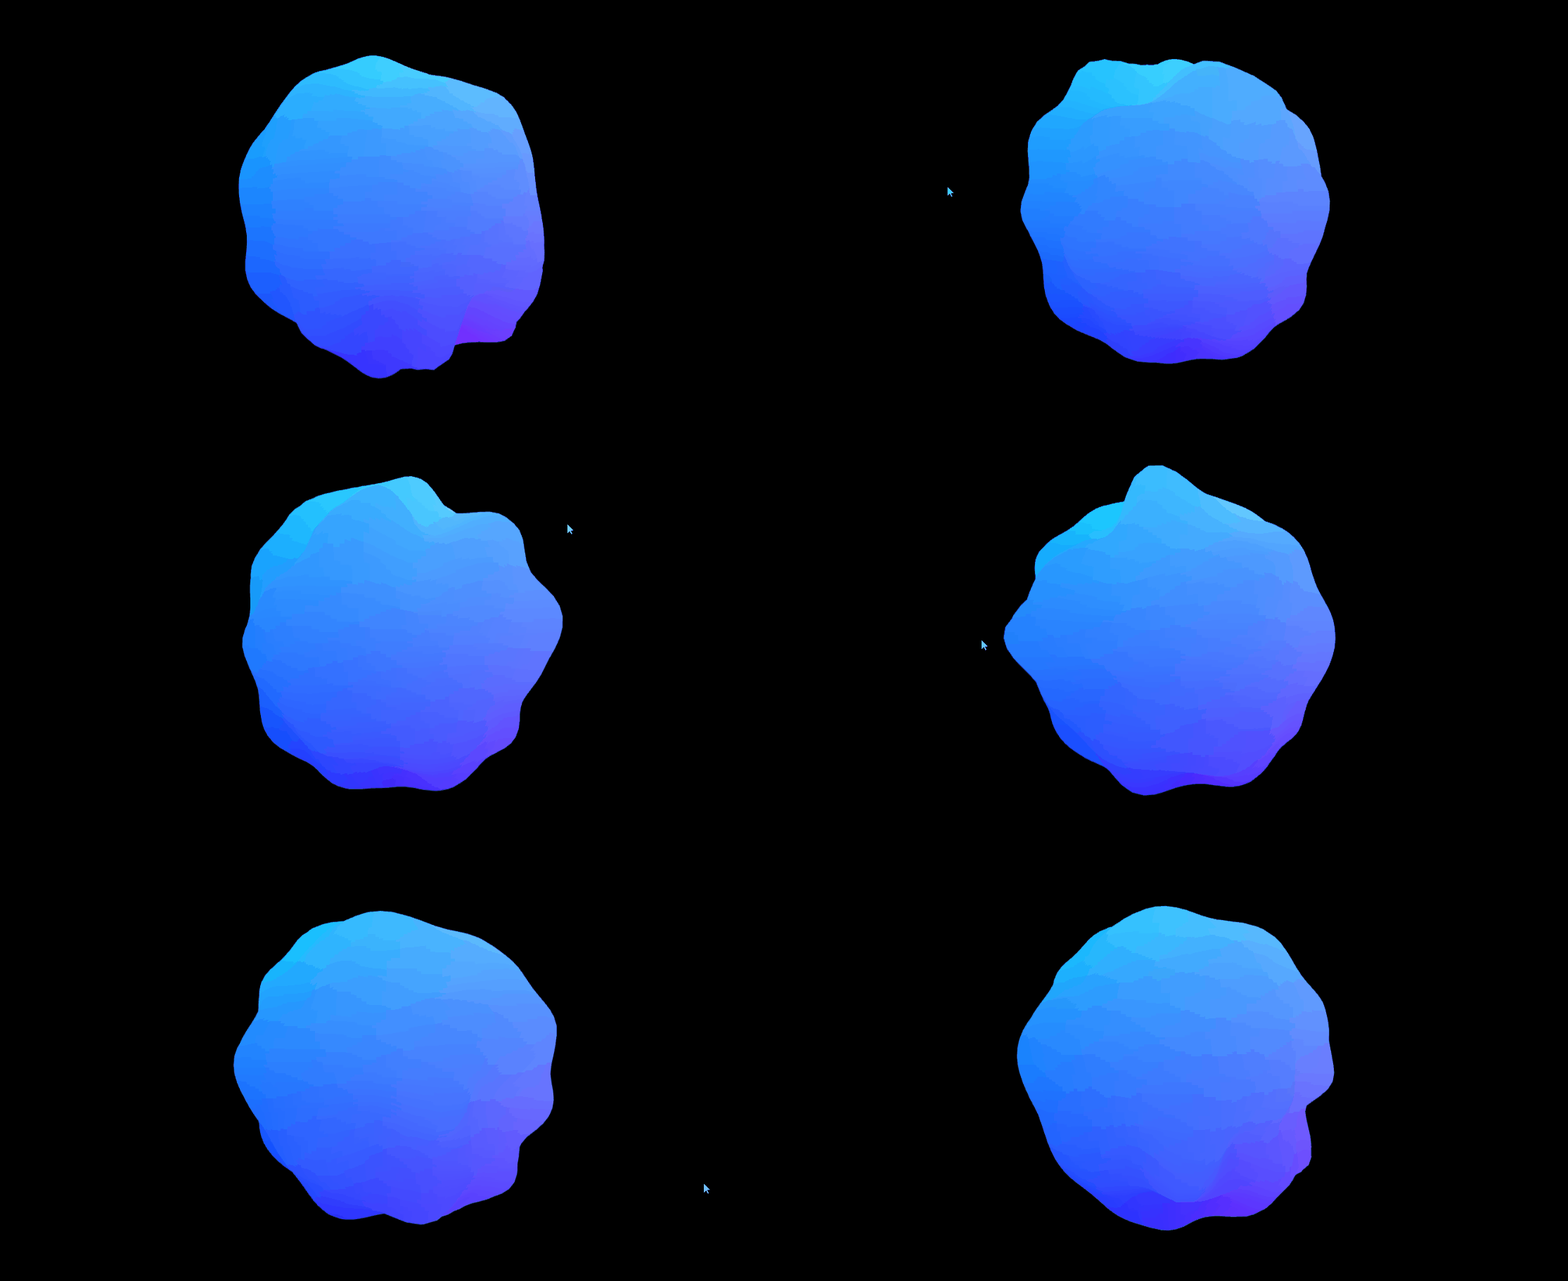
用 simplex noise 实现扭曲效果,这里比较自由,想怎么扭曲就怎么扭曲,只要好看就行
有个注意点:扭曲位置position后要修正法线normal,不然会显示错误,国外论坛上已经有一个比较好的解法,直接拿来用了
1
2
3
4
5
6
7
8
9
10
11
12
13
14
15
16
17
18
19
20
21
22
23
24
25
26
27
28
29
30
31
32
33
34
35
36
37
38
39
40
41
42
43
44
45
46
47
48
49
50
51
52
53
54
55
56
57
58
59
60
| #pragma glslify:snoise=require(glsl-noise/simplex/3d)
#pragma glslify:PI=require(glsl-constants/PI)
#pragma glslify:getWorldNormal=require(../modules/getWorldNormal)
uniform float uTime;
uniform vec2 uMouse;
varying vec2 vUv;
varying vec3 vWorldNormal;
vec3 distort(vec3 p){
vec3 pointDirection=normalize(p);
vec3 mousePoint=vec3(uMouse,1.);
vec3 mouseDirection=normalize(mousePoint);
float mousePointAngle=dot(pointDirection,mouseDirection);
float freq=1.5;
float t=uTime*100.;
float f=PI*freq;
float fc=mousePointAngle*f;
vec3 n11=pointDirection*1.5;
vec3 n12=vec3(uTime)*4.;
float dist=smoothstep(.4,1.,mousePointAngle);
float n1a=dist*2.;
float noise1=snoise(n11+n12)*n1a;
vec3 n21=pointDirection*1.5;
vec3 n22=vec3(0.,0.,uTime)*2.;
vec3 n23=vec3(uMouse,0.)*.2;
float n2a=.8;
float noise2=snoise(n21+n22+n23)*n2a;
float mouseN1=sin(fc+PI+t);
float mouseN2=smoothstep(f,f*2.,fc+t);
float mouseN3=smoothstep(f*2.,f,fc+t);
float mouseNa=4.;
float mouseNoise=mouseN1*mouseN2*mouseN3*mouseNa;
float noise=noise1+noise2+mouseNoise;
vec3 distortion=pointDirection*(noise+length(p));
return distortion;
}
#pragma glslify:fixNormal=require(../modules/fixNormal,map=distort)
void main(){
vec3 pos=position;
pos=distort(pos);
vec4 modelPosition=modelMatrix*vec4(pos,1.);
vec4 viewPosition=viewMatrix*modelPosition;
vec4 projectedPosition=projectionMatrix*viewPosition;
gl_Position=projectedPosition;
vec3 distortedNormal=fixNormal(position,pos,normal);
vUv=uv;
vWorldNormal=getWorldNormal(modelMatrix,distortedNormal).xyz;
}
|
修正法线函数 fixNormal.glsl
1
2
3
4
5
6
7
8
9
10
11
12
13
14
15
16
17
| #pragma glslify:orthogonal=require(./orthogonal)
vec3 fixNormal(vec3 position,vec3 distortedPosition,vec3 normal){
vec3 tangent=orthogonal(normal);
vec3 bitangent=normalize(cross(normal,tangent));
float offset=.1;
vec3 neighbour1=position+tangent*offset;
vec3 neighbour2=position+bitangent*offset;
vec3 displacedNeighbour1=map(neighbour1);
vec3 displacedNeighbour2=map(neighbour2);
vec3 displacedTangent=displacedNeighbour1-distortedPosition;
vec3 displacedBitangent=displacedNeighbour2-distortedPosition;
vec3 displacedNormal=normalize(cross(displacedTangent,displacedBitangent));
return displacedNormal;
}
#pragma glslify:export(fixNormal)
|
正交函数 orthogonal.glsl
1
2
3
4
5
| vec3 orthogonal(vec3 v){
return normalize(abs(v.x)>abs(v.z)?vec3(-v.y,v.x,0.)
:vec3(0.,-v.z,v.y));
}
#pragma glslify:export(orthogonal);
|
获取世界法线函数 getWorldNormal.glsl
1
2
3
4
5
6
| vec4 getWorldNormal(mat4 modelMat,vec3 normal){
vec4 worldNormal=normalize((modelMat*vec4(normal,0.)));
return worldNormal;
}
#pragma glslify:export(getWorldNormal)
|

片元着色器
利用 pbr 生成光照,再加上一个炫彩材质
炫彩材质直接将ThinFilmFresnelMap.js拉到本地,在 LiquidCrystal 类里引入即可(也就是把上面的注释删除就行)
1
2
3
4
5
6
7
8
9
10
11
12
13
14
15
16
17
18
19
20
21
22
23
24
25
26
27
28
29
30
31
32
33
| #pragma glslify:snoise=require(glsl-noise/simplex/3d)
#pragma glslify:invert=require(../modules/invert)
uniform float uTime;
uniform vec2 uMouse;
uniform vec2 uResolution;
uniform sampler2D uIriMap;
uniform float uIriBoost;
varying vec2 vUv;
varying vec3 vWorldNormal;
void main(){
vec2 newUv=vUv;
float noise=snoise(vWorldNormal*5.)*.3;
vec3 N=normalize(vWorldNormal+vec3(noise));
vec3 V=normalize(cameraPosition);
float NdotV=max(dot(N,V),0.);
float colorStrength=smoothstep(0.,.8,NdotV);
vec3 color=invert(vec3(colorStrength));
vec3 airy=texture2D(uIriMap,vec2(NdotV*.99,0.)).rgb;
airy*=airy;
vec3 specularLight=vWorldNormal*airy*uIriBoost;
float mixStrength=smoothstep(.3,.6,NdotV);
vec3 finalColor=mix(specularLight,color,mixStrength);
gl_FragColor=vec4(finalColor,0.);
}
|
反转函数 invert.glsl
1
2
3
4
5
6
7
8
9
| float invert(float n){
return 1.-n;
}
vec3 invert(vec3 n){
return 1.-n;
}
#pragma glslify:export(invert)
|
最终效果如下

项目地址
Liquid Crystal


