呀哈喽!这里是 alphardex。
之前我写过一篇液晶球相关的文章,里面是用顶点着色器和片元着色器来实现液晶球效果的,不过呢,之前同样写过一篇Raymarching 相关的文章,于是乎我在想能不能把这两种方法给结合起来,实现一个第二版的液晶球呢,经过几天的实验,最终写出了如下的效果(全屏打开最佳):
https://code.juejin.cn/pen/7161774000031399943
本文将简要地介绍一下实现这个效果的思路
液晶球部分
建模
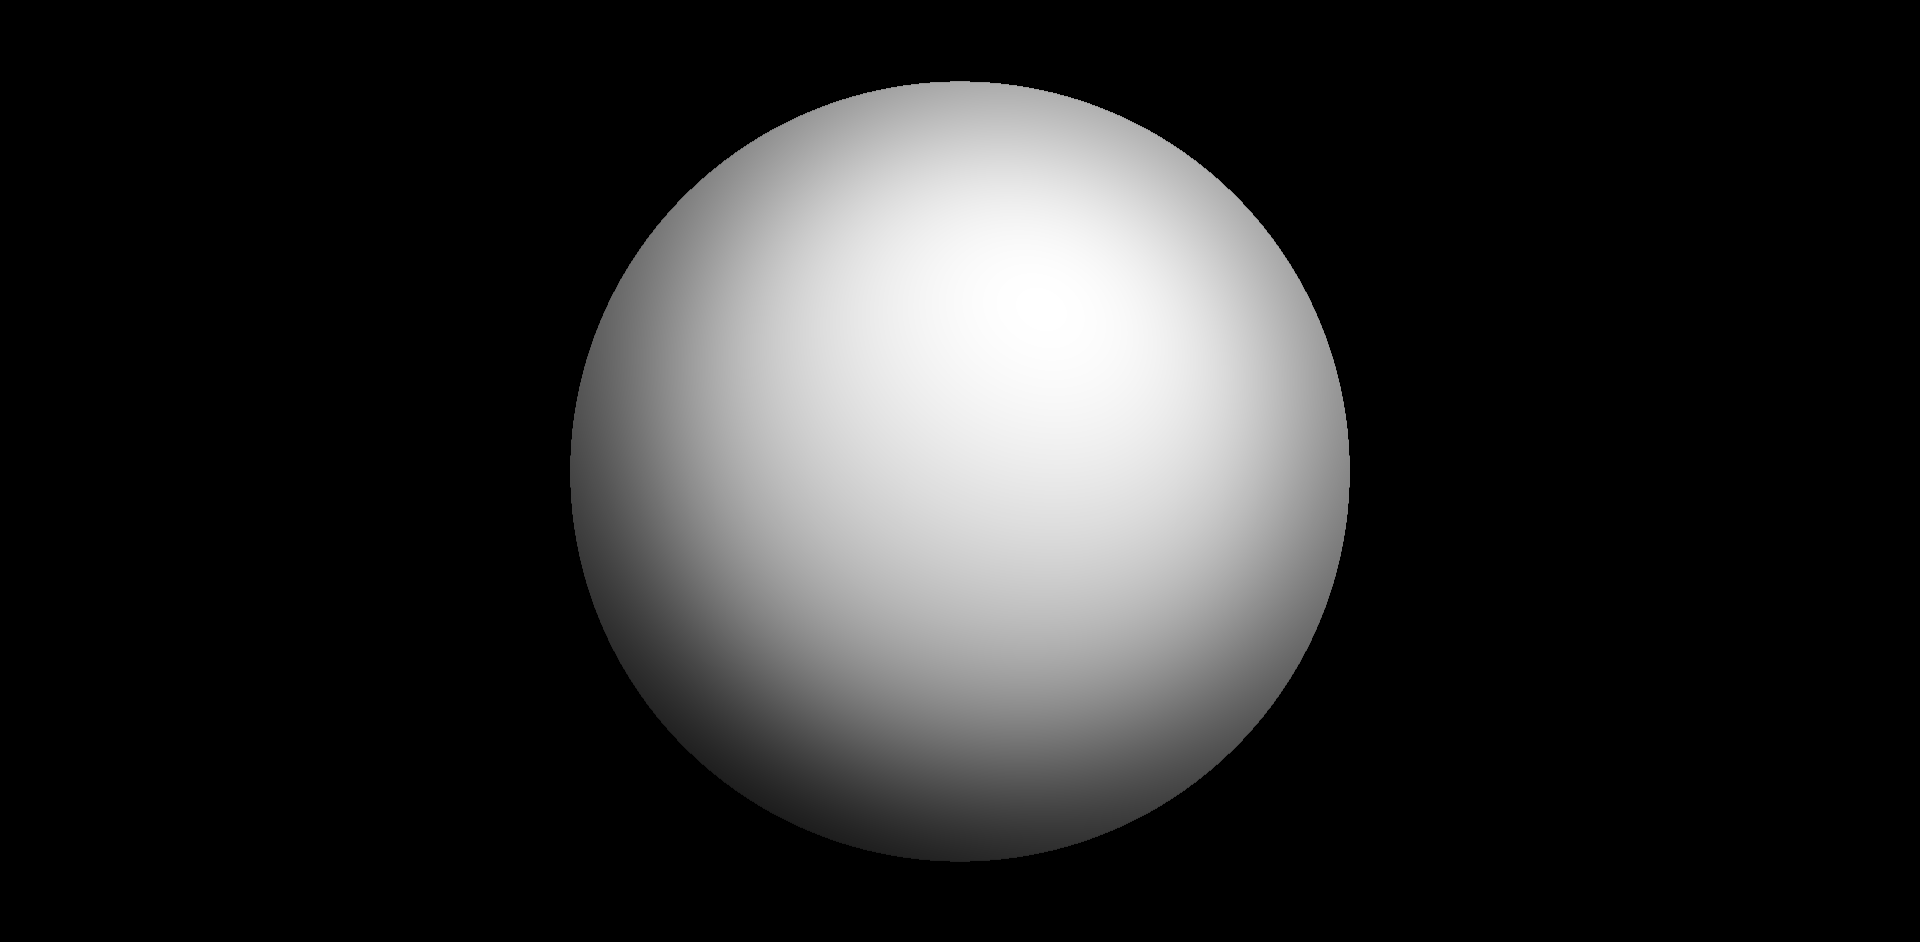
首先用球体的 SDF 函数描画出一个球体
1
2
3
4
| float sdSphere(vec3 p,float s)
{
return length(p)-s;
}
|
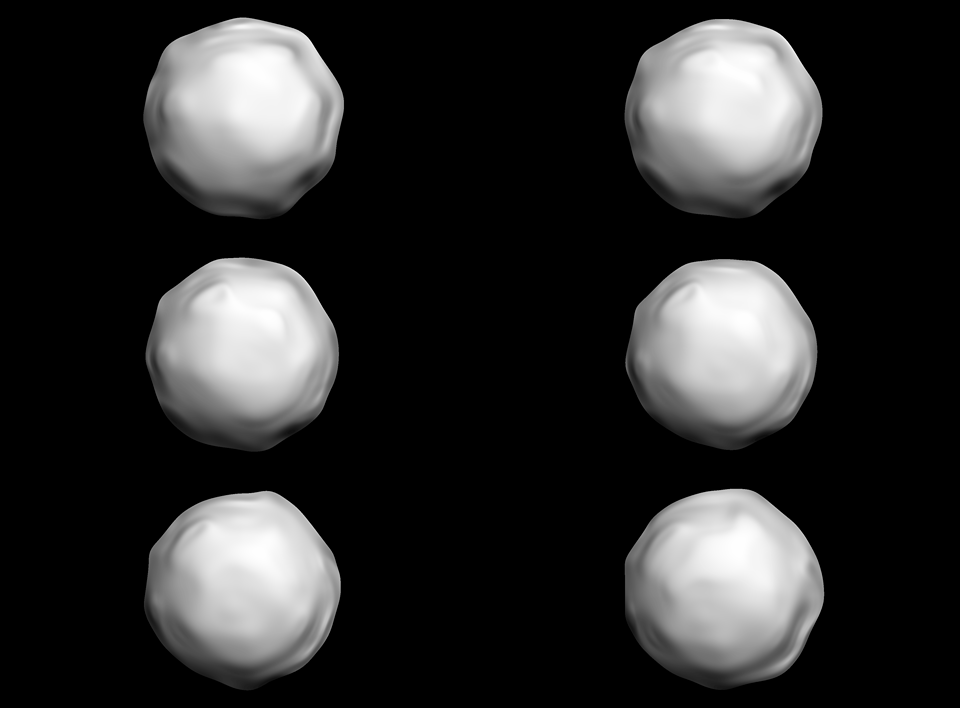
用噪声函数来扭曲球体,这里我用的是经典柏林噪声,感觉效果最好看
1
2
3
4
5
6
7
8
9
10
11
12
| vec3 distort(vec3 p){
float t=iTime*.5;
float distortStr=1.6;
vec3 distortP=p+cnoise(vec3(p*PI*distortStr+t));
float perlinStr=cnoise(vec3(distortP*PI*distortStr*.1));
vec3 dispP=p;
dispP+=(p*perlinStr*.1);
return dispP;
}
|
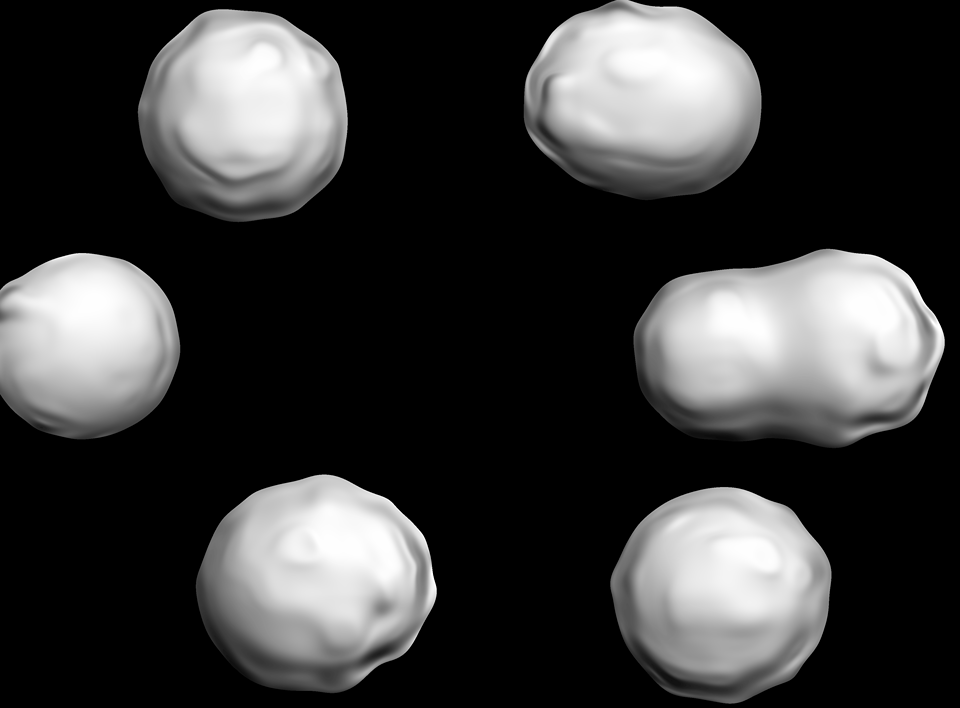
创建 2 个球体,并用融合函数将它们融合起来
1
2
3
4
5
| float opSmoothUnion(float d1,float d2,float k)
{
float h=max(k-abs(d1-d2),0.);
return min(d1,d2)-h*h*.25/k;
}
|
它们的位移由用户鼠标的位置所决定,创建 2 个uMouse并运用插值函数即可
1
2
3
4
5
6
7
8
9
10
11
12
13
14
15
16
17
18
19
20
21
22
23
24
| let offsetX1 = 0;
let offsetY1 = 0;
let offsetX2 = 0;
let offsetY2 = 0;
this.update(() => {
const mouse = new THREE.Vector2(
this.iMouse.mouseScreen.x / window.innerWidth,
this.iMouse.mouseScreen.y / window.innerHeight
);
const mouse1Lerp = params.mouse1Lerp;
const mouse2Lerp = params.mouse2Lerp;
offsetX1 = THREE.MathUtils.lerp(offsetX1, mouse.x, mouse1Lerp);
offsetY1 = THREE.MathUtils.lerp(offsetY1, mouse.y, mouse1Lerp);
offsetX2 = THREE.MathUtils.lerp(offsetX2, offsetX1, mouse2Lerp);
offsetY2 = THREE.MathUtils.lerp(offsetY2, offsetY1, mouse2Lerp);
sq.material.uniforms.uMouse1.value = new THREE.Vector2(offsetX1, offsetY1);
sq.material.uniforms.uMouse2.value = new THREE.Vector2(offsetX2, offsetY2);
});
|
光照
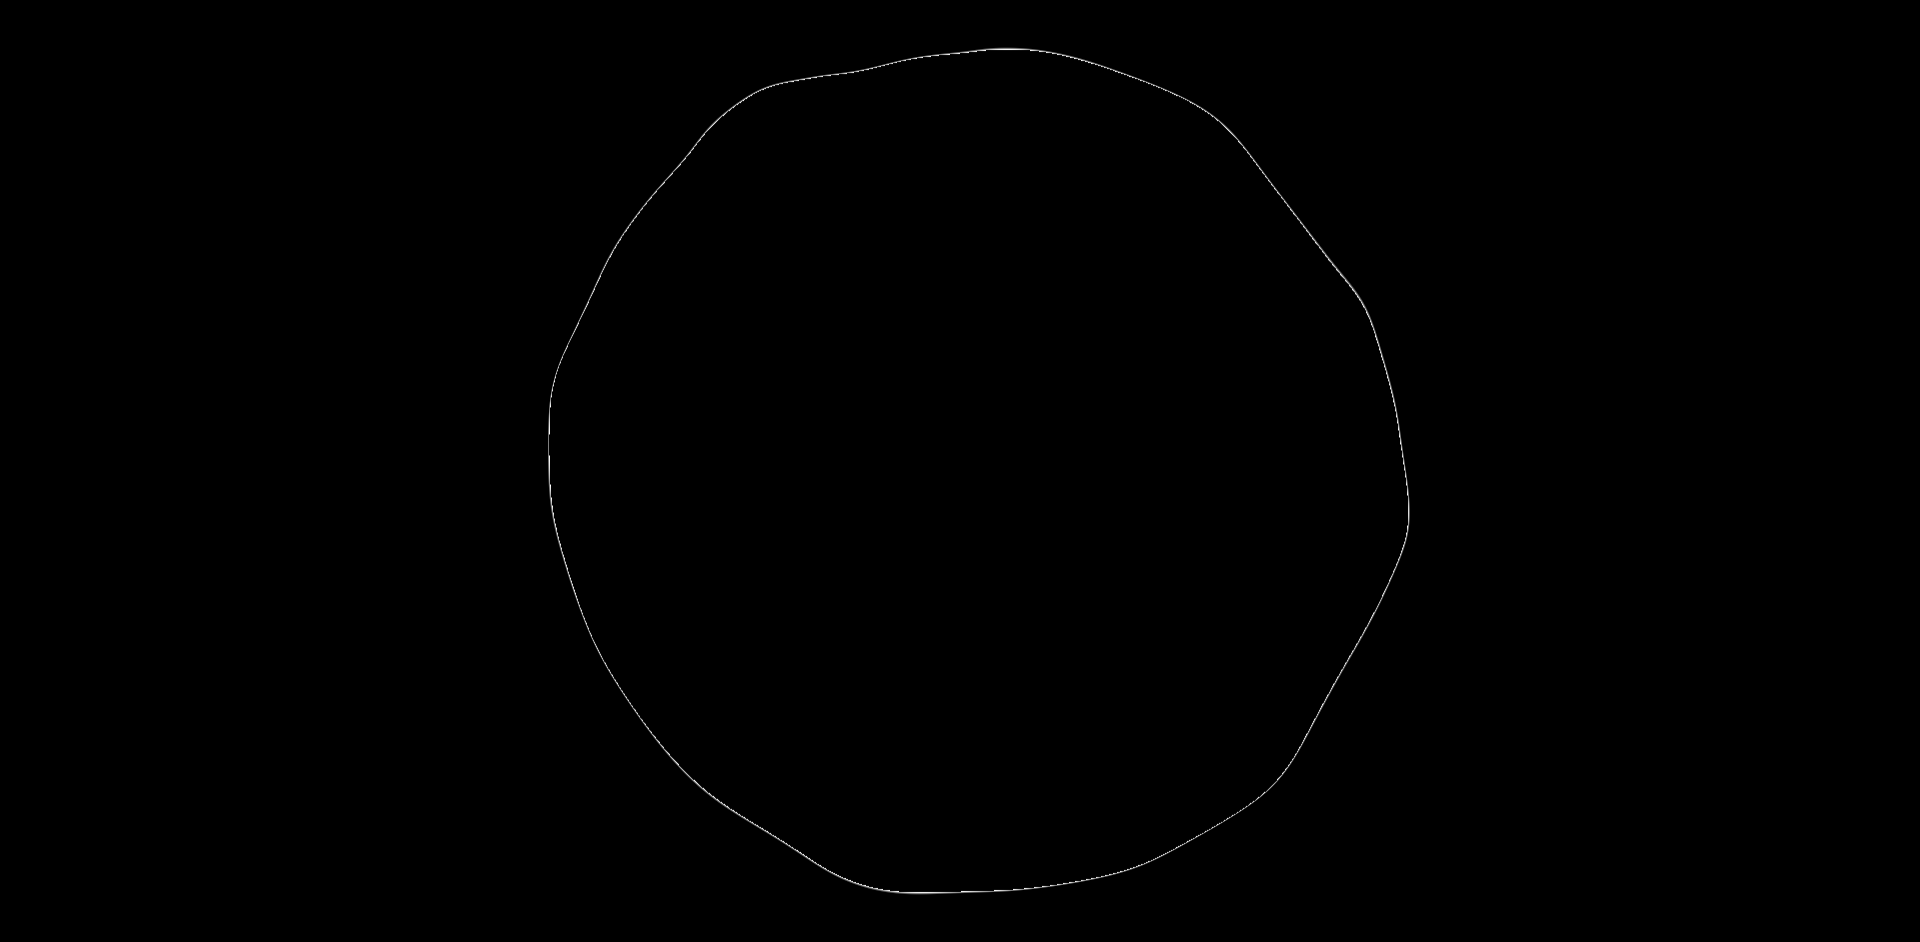
把球体的主色调变成黑色,在render函数中加上微光效果作为轮廓
1
2
3
4
5
| if(t>tMax&&t<(tMax+GLOW)){
vec3 glowColor=vec3(1.);
float glowAlpha=map(t,tMax,tMax+GLOW,1.,0.);
col=vec4(glowColor,glowAlpha);
}
|
用菲涅尔反射公式产生第一层的光照效果
1
2
3
4
| float fresnel(float bias,float scale,float power,vec3 I,vec3 N)
{
return bias+scale*pow(1.+dot(I,N),power);
}
|
1
2
3
4
5
| float fOffset=-1.4*(1.-distanceMouse*2.);
float f=fOffset+fresnel(0.,1.,1.,I,nor)*1.44;
float f2=fOffset+fresnel(1.,1.,1.,rd,nor)*1.44;
vec3 fCol=vec3(saturate(pow(f-.8,3.)));
lin=blendScreen(lin,fCol);
|
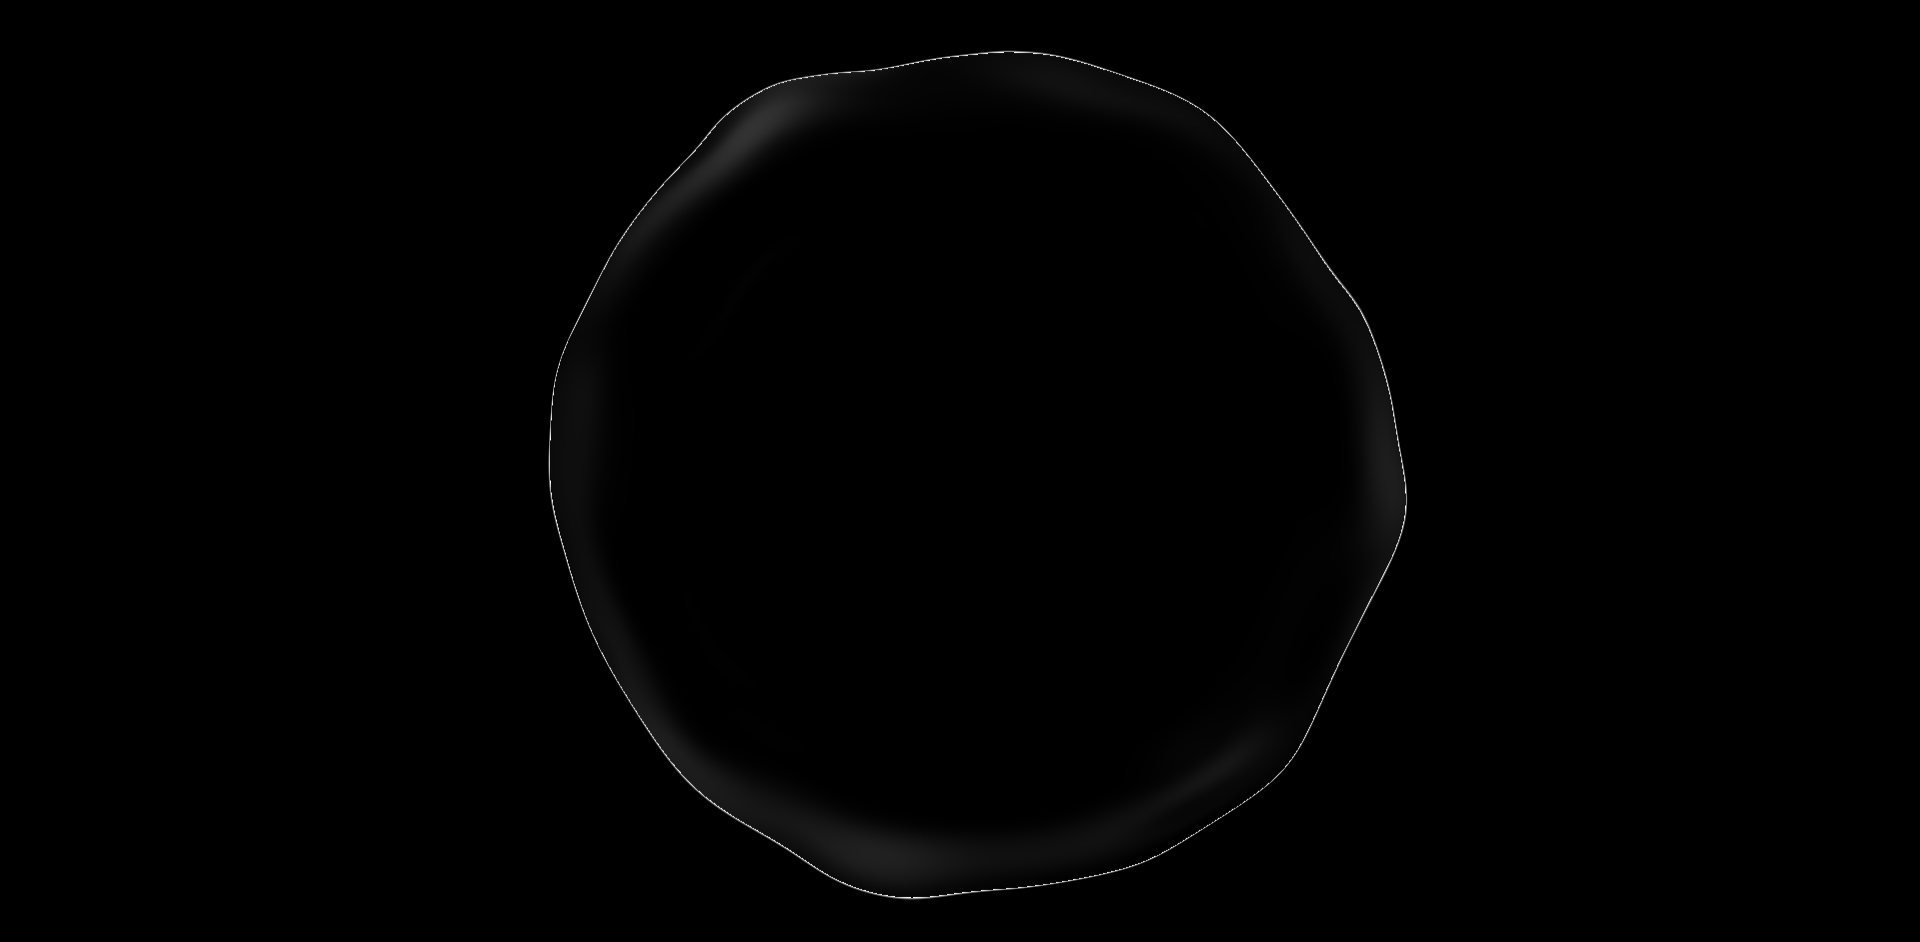
引入一个环境贴图(我是直接在polyhaven上找的),将其采样成外围的光照
1
2
3
4
| vec3 cubeTex=texture(uCubemap,vec3(screenUv,0.)).rgb;
vec3 cubeTexSat=saturation(cubeTex,6.);
vec3 cubeTexF=blendScreen(mix(vec3(0.),cubeTexSat,fCol),fCol);
lin=blendScreen(lin,cubeTexF);
|
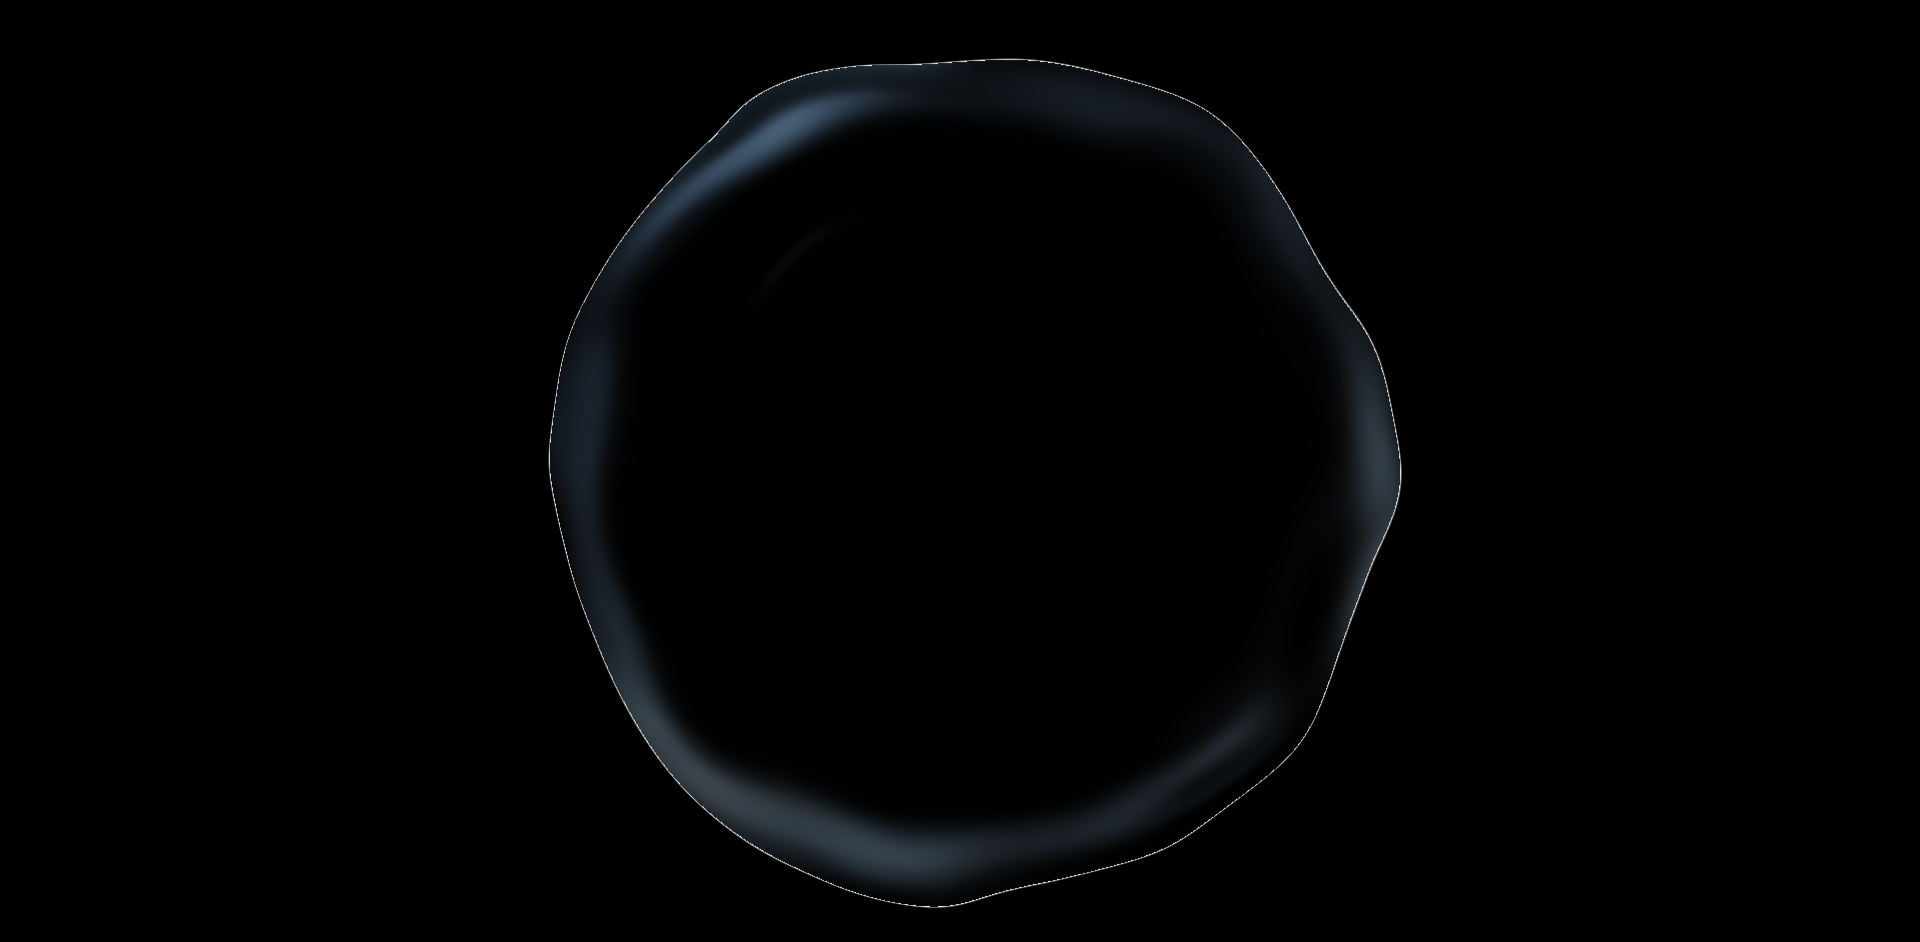
可以用smoothstep平滑函数来产生更强的环境光效果
1
2
3
4
5
6
7
8
9
10
11
12
| vec3 iri=vec3(0.);
float iriSrength=10.;
iri.r=smoothstep(cubeTexF.r*iriSrength,0.,.5);
iri.g=smoothstep(cubeTexF.g*iriSrength,0.,.5);
iri.b=smoothstep(cubeTexF.b*iriSrength,0.,.5);
lin=blendScreen(lin,iri);
vec3 iri2=vec3(0.);
iri2.r=smoothstep(0.,.25,cubeTexF.r);
iri2.g=smoothstep(0.,.25,cubeTexF.r);
iri2.b=smoothstep(0.,.25,cubeTexF.r);
lin=blendScreen(lin,iri2);
|
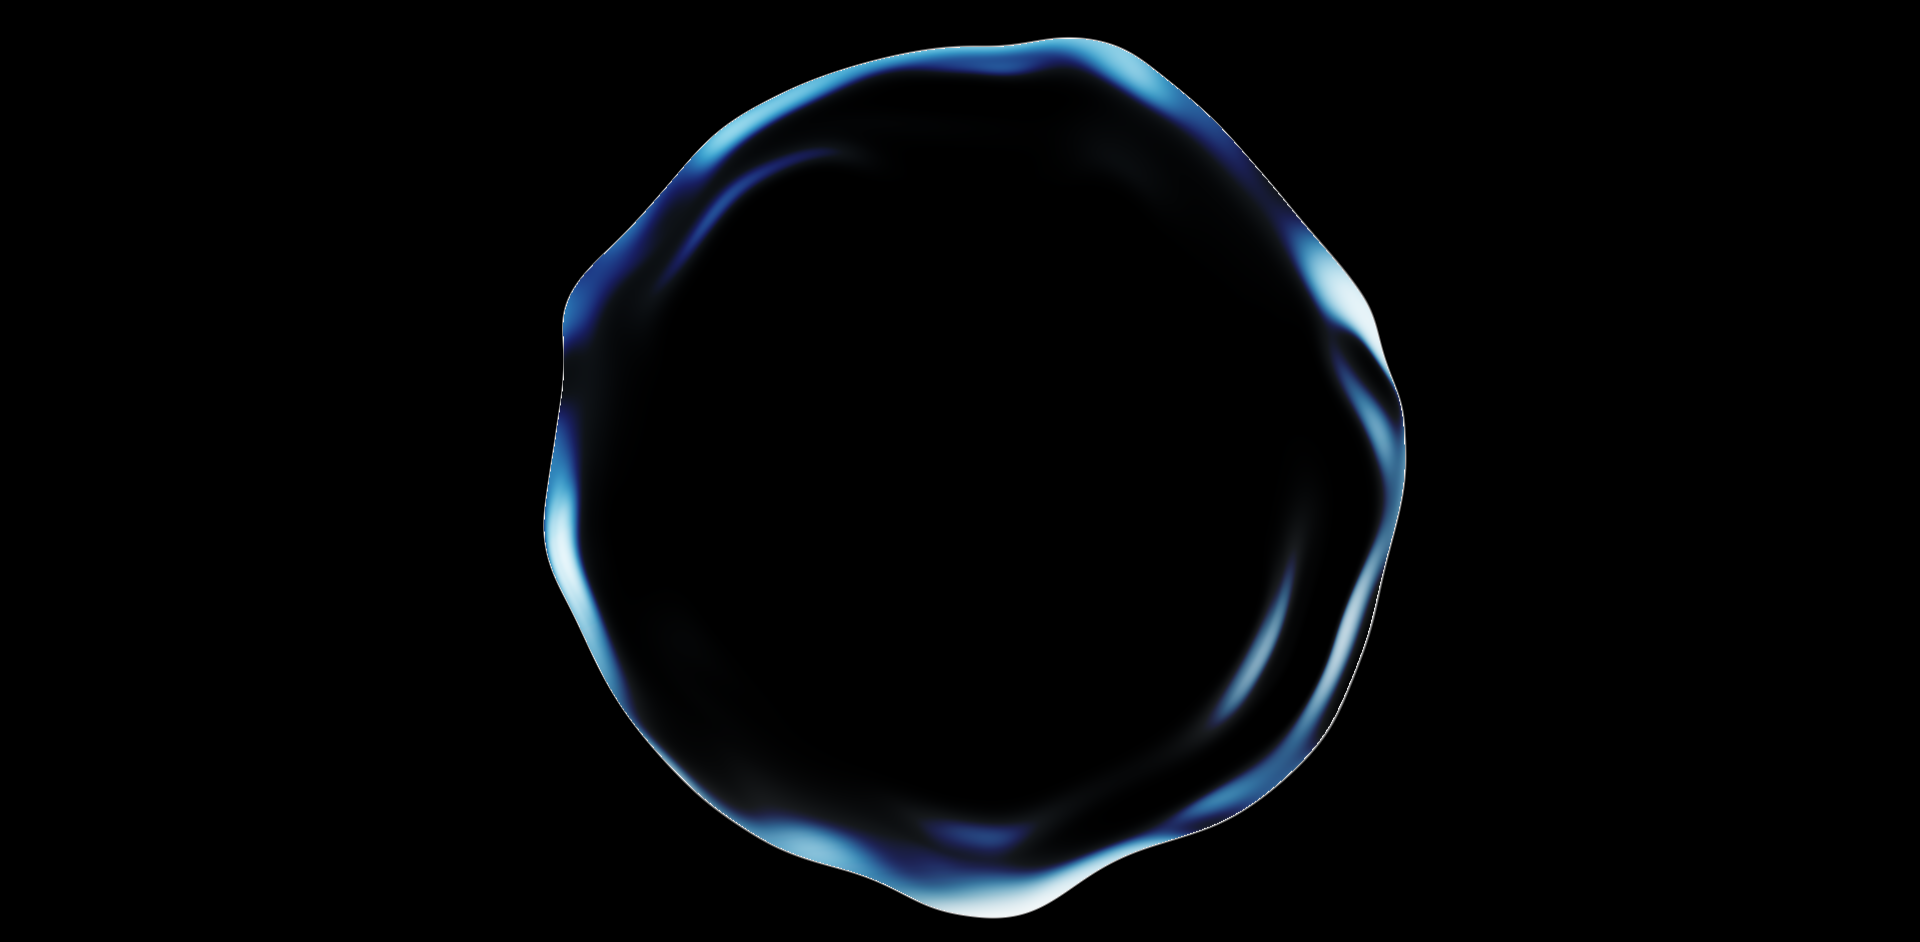
再次运用菲涅尔反射公式计算得来的值,在球体的中心也产生光
1
2
3
4
5
6
| vec3 mf=vec3(0.);
float fFactor=pow(f+f2,1.24);
float invertFFactor=-fFactor+3.;
mf=vec3(invertFFactor);
mf*=.1;
lin=blendScreen(lin,mf);
|
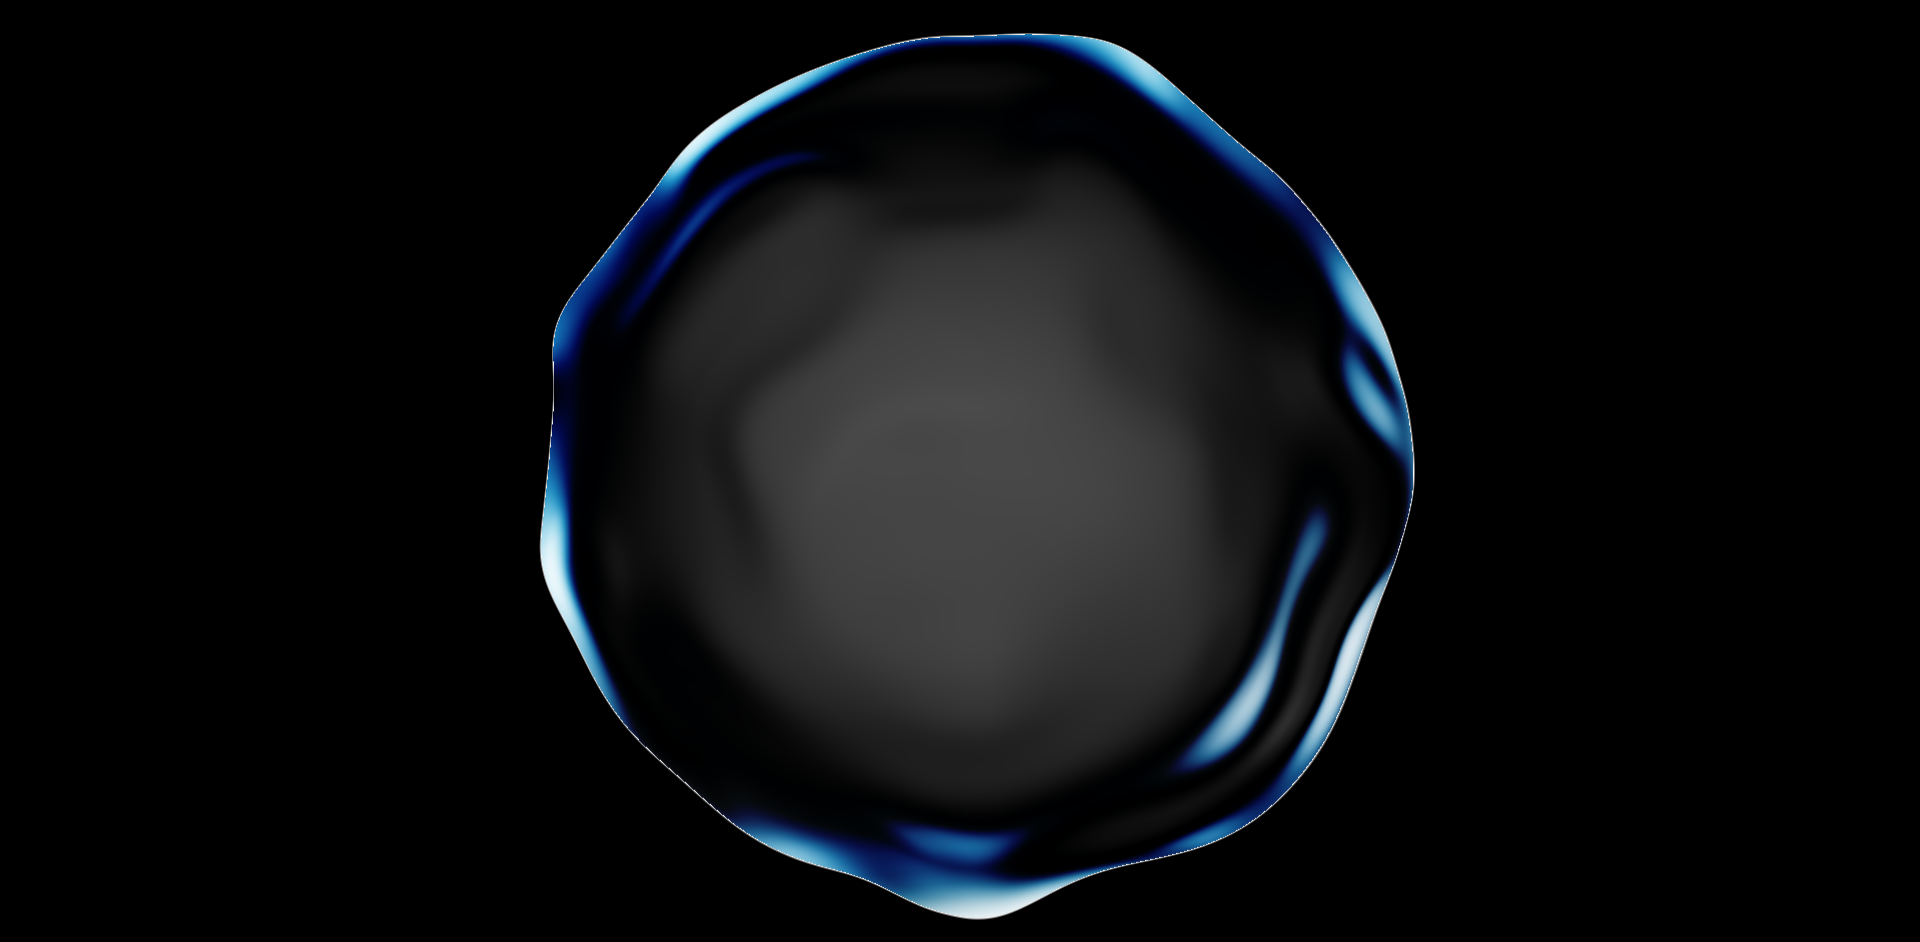
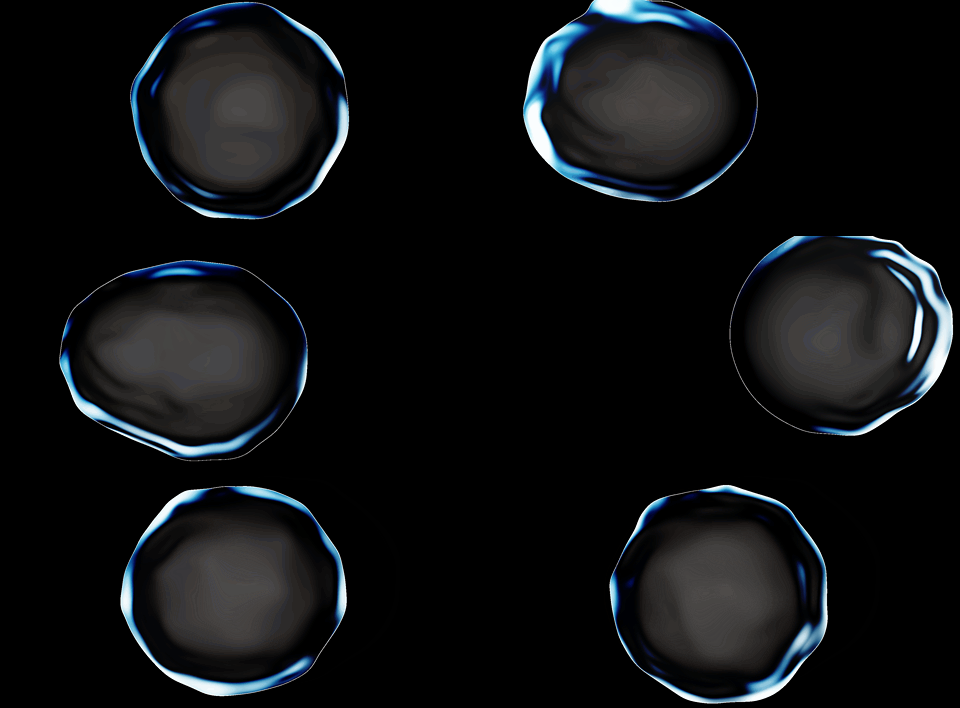
最后与鼠标交互相结合,一个酷酷的液晶球就完成啦!
与 HTML 相结合
最近刚写过一篇类似的文章,具体方法就不再赘述了。
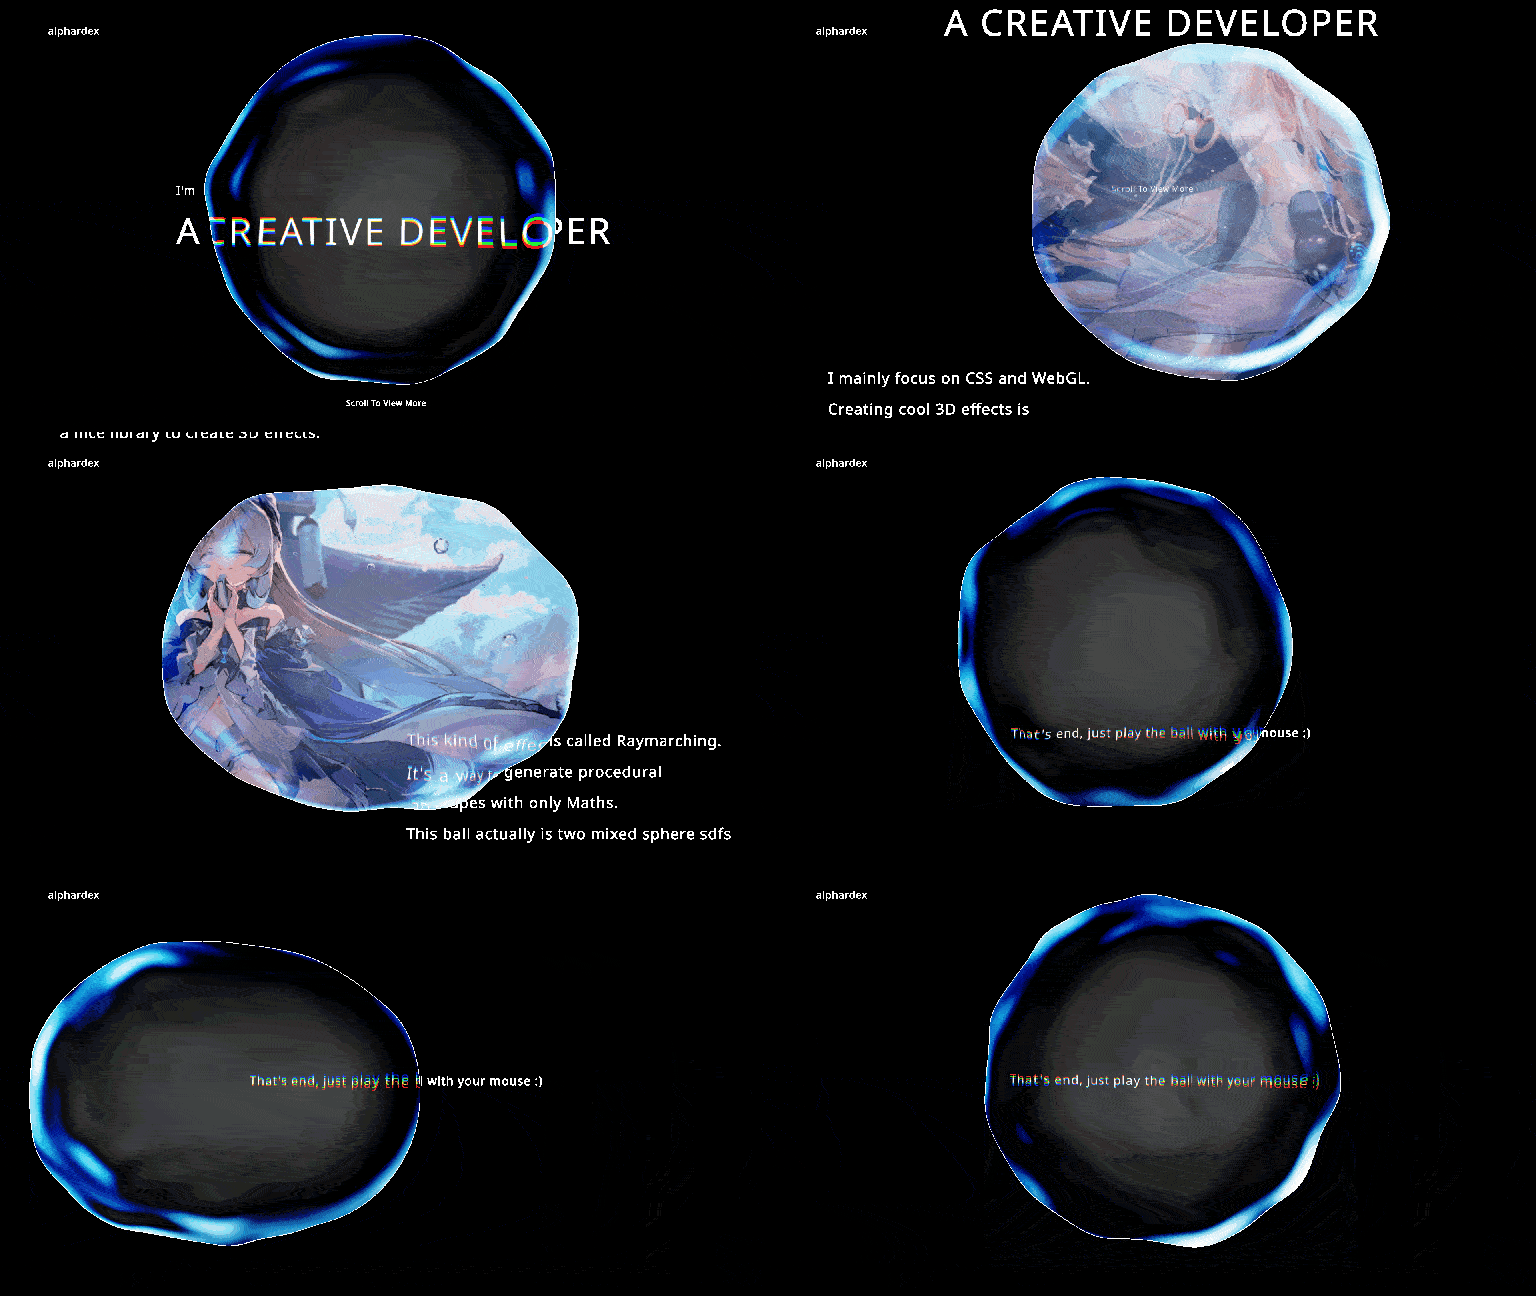
唯一要提的一点是球体的内部其实是可以折射出 HTML 的内容的,这个是怎么实现的呢?答案是用离屏渲染,在 kokomi.js 中RenderTexture可以轻松做到这一点。创建另一个THREE.Scene场景对象,将所有的 WebGL 对象clone到这个场景中,创建RenderTexture,应用该场景对象,将其作为液晶球折射的材质即可,甚至可以加上 RGBShift 来扭曲颜色通道,看起来更酷哦。
1
2
3
4
5
6
7
8
9
10
11
12
| vec3 refra=refract(vec3(0.,0.,-2.),nor,1./2.);
screenUv+=refra.xy*.015;
float offset=(.05*nor.x*.15+.002)*.8;
vec2 rUv=vec2(screenUv.x,screenUv.y+offset);
vec2 gUv=vec2(screenUv.x,screenUv.y);
vec2 bUv=vec2(screenUv.x,screenUv.y-offset);
vec3 rtTex=RGBShift(uRt,rUv,gUv,bUv).xyz;
lin=blendScreen(lin,rtTex);
vec3 rt2Tex=texture(uRt2,screenUv).xyz;
lin=blendScreen(lin,rt2Tex*uRt2Opacity);
|
最后
希望本文能给你创作新特效的灵感,keep creating~


