前言 大家好,这里是 CSS 兼 WebGL 魔法使——alphardex。
之前在练习写粒子特效的时候发现有些特效的实现跟物理知识有很大的关系(比如烟花特效),后来又碰巧发现了一本神书——The Nature of Code ,它教你如何运用物理数学知识来模拟实现一些自然界的特效,读完后我的创作之魂被彻底激发,于是就有了这篇文章,它将带你从零开始实现一个由物理驱动的粒子特效。
以下是最终实现的效果图
让我们开始吧!
准备工作 笔者的 p5.js 模板 ,点击右下角可以 fork 一份
创作开始 微粒类 在某个位置画一个圆点,就这么简单~
1
2
3
4
5
6
7
8
9
10
11
12
13
14
15
16
class Particle { s : p5; position : p5.Vector ; constructor (s: p5, position = s.createVector(0 , 0 ) ) { this .s = s; this .position = position.copy (); } display ( this .s .circle (this .position .x , this .position .y , 6 ); } run ( this .display (); } }
微粒系统类 多画几个点,把它们存到数组里,就成了所谓的微粒系统
1
2
3
4
5
6
7
8
9
10
11
12
13
14
15
16
17
18
19
20
21
22
23
24
25
26
27
class ParticleSystem { s : p5; particles : Particle []; origin : p5.Vector ; constructor (s: p5, origin = s.createVector(0 , 0 ) ) { this .s = s; this .particles = []; this .origin = origin; } addParticle ( const particle = new Particle (this .s , this .origin ); this .particles .push (particle); } addParticles (count = 1 ) { for (let i = 0 ; i < count; i++) { this .addParticle (); } } run ( for (const particle of this .particles ) { particle.run (); } } }
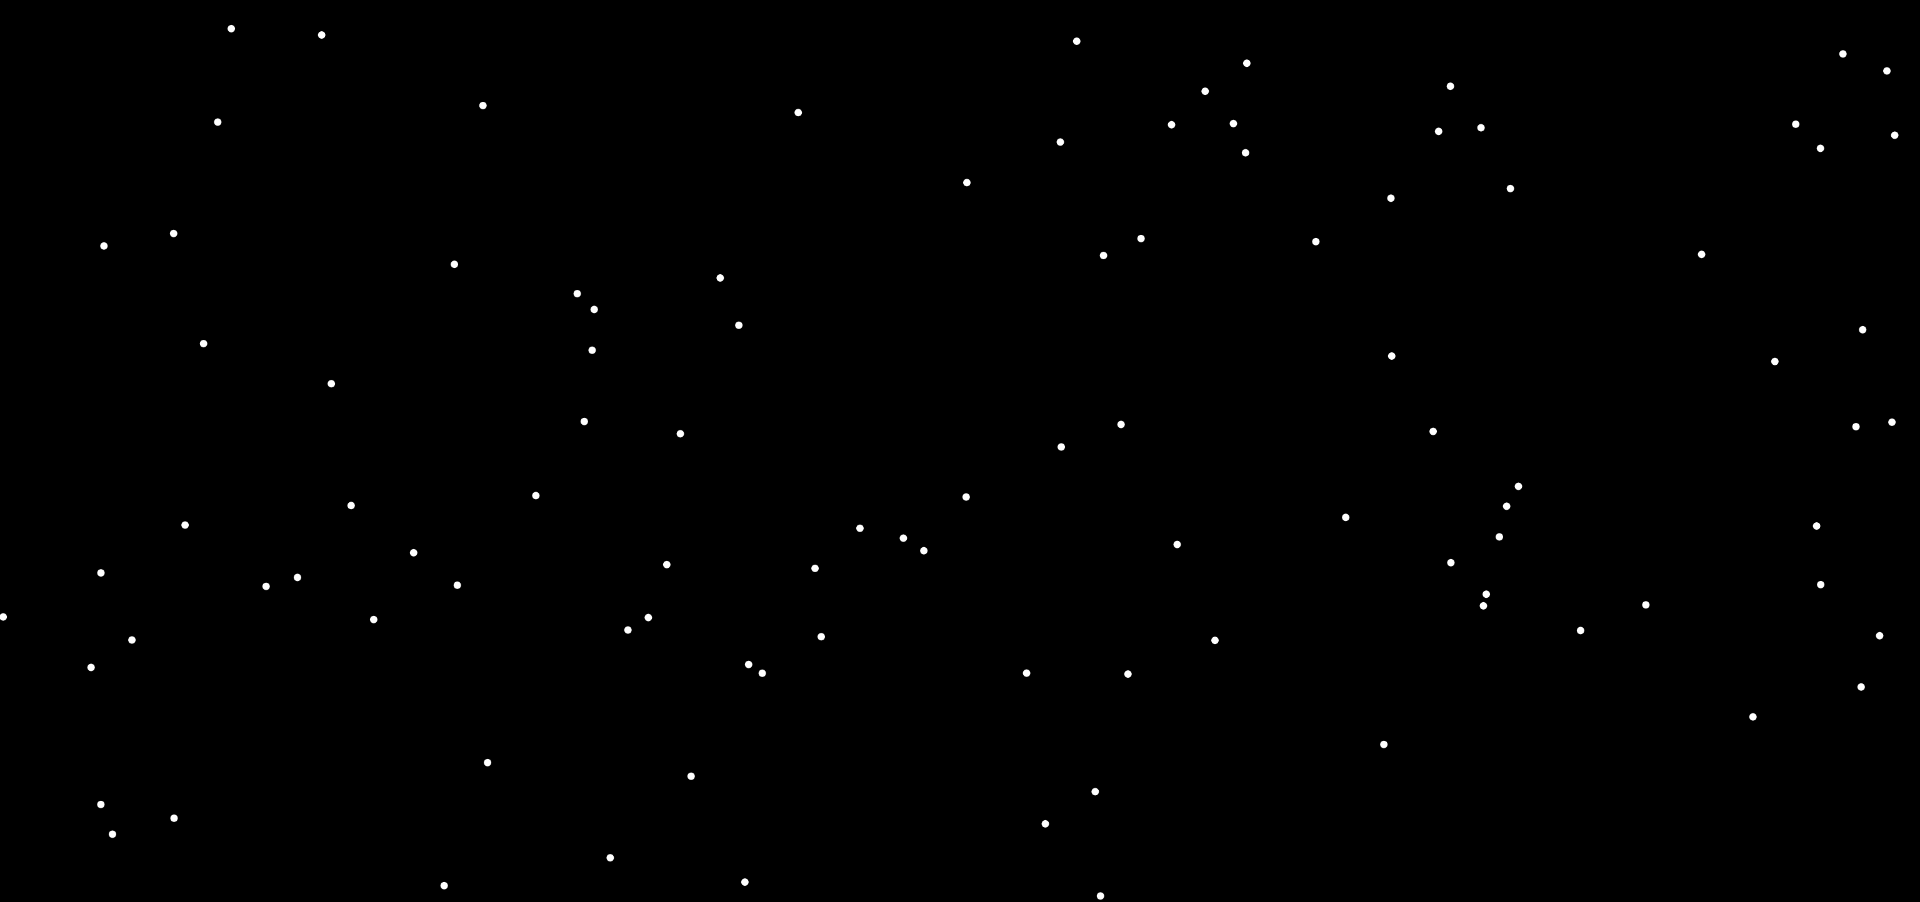
创建微粒 在画面上画上 100 个微粒
1
2
3
4
5
6
7
8
9
10
11
12
13
14
15
16
17
18
19
20
21
22
23
const sketch = (s: p5 ) => { let ps : ParticleSystem ; const setup = ( s.createCanvas (s.windowWidth , s.windowHeight ); ps = new ParticleSystem (s, s.createVector (s.width / 2 , s.height / 2 )); ps.addParticles (100 ); }; const draw = ( s.background (0 ); s.blendMode (s.ADD ); ps.run (); s.blendMode (s.BLEND ); }; s.setup = setup; s.draw = draw; };
100 个微粒都重叠在了画面中央,位置应该打乱一下
打乱微粒位置 给所有微粒赋予随机的坐标即可
1
2
3
4
5
6
7
8
9
10
11
12
13
14
15
16
17
18
19
20
21
class ParticleSystem { ... shuffle ( this .particles .forEach ((p ) => { const x = this .s .random (0 , this .s .width ); const y = this .s .random (0 , this .s .height ); const randPos = this .s .createVector (x, y); p.position = randPos; }); } } const sketch = (s: p5 ) => { ... const setup = ( ... ps.shuffle (); }; };
100 个微粒分散在了画面各处
微粒漫游 全部静止肯定不行,给它们一个随机的速度,就能动起来了
1
2
3
4
5
6
7
8
9
10
11
12
13
14
15
16
17
18
19
20
21
22
23
24
25
26
27
28
29
30
31
32
33
34
35
36
37
38
39
class Particle { ... velocity : p5.Vector ; constructor (s: p5, position = s.createVector(0 , 0 ) ) { ... this .velocity = this .s .createVector (0 , 0 ); } update ( this .position .add (this .velocity ); } run ( this .update (); this .display (); } } class ParticleSystem { ... wander ( this .particles .forEach ((p ) => { const x = this .s .random (-1 , 1 ); const y = this .s .random (-1 , 1 ); const randVel = this .s .createVector (x, y); p.velocity = randVel; }); } } const sketch = (s: p5 ) => { ... const setup = ( ... ps.wander (); }; };
此时微粒会在画面上四处飘动
对微粒施加力 物理课上老师教过我们,力能改变物体的运动状态,根据牛二定律,我们能给物体施加一个力,增加物体的加速度,从而增加物体的速度
尝试让微粒受重力的影响下落
1
2
3
4
5
6
7
8
9
10
11
12
13
14
15
16
17
18
19
20
21
22
23
24
25
26
27
28
29
30
31
32
33
34
35
36
37
38
39
40
41
42
43
44
45
46
class Particle { ... acceleration : p5.Vector ; topSpeed : number ; constructor (s: p5, position = s.createVector(0 , 0 ) ) { ... this .acceleration = this .s .createVector (0 , 0 ); this .topSpeed = 12 ; } update ( this .velocity .add (this .acceleration ); this .velocity .limit (this .topSpeed ); this .position .add (this .velocity ); this .acceleration .mult (0 ); } applyForce (force: p5.Vector ) { const mass = 1 ; const acceleration = p5.Vector .div (force, mass); this .acceleration .add (acceleration); } } class ParticleSystem { ... applyForce (force: p5.Vector ) { this .particles .forEach ((p ) => p.applyForce (force)); } } const sketch = (s: p5 ) => { ... const draw = ( ... ps.run (); const gravity = s.createVector (0 , 0.05 ); ps.applyForce (gravity); ... }; };
吸引体类 新增一个 Attractor 类,负责对微粒施加吸引力,这样微粒就都会朝它那边跑了
1
2
3
4
5
6
7
8
9
10
11
12
13
14
15
16
17
18
19
20
21
22
23
24
25
26
27
28
29
30
31
32
33
34
35
36
37
38
39
40
41
42
43
44
45
46
47
48
49
50
51
class Attractor extends Particle { attractForceMag : number ; radius : number ; id : number ; constructor (s: p5, position = s.createVector(0 , 0 ), radius = 16 , id = 0 ) { super (s, position); this .attractForceMag = 0.05 ; this .radius = radius; this .id = id; } display ( this .s .circle (this .position .x , this .position .y , this .radius * 2 ); } applyAttractForce (p: Particle ) { const attractForce = p5.Vector .sub (this .position , p.position ); attractForce.setMag (this .attractForceMag ); p.applyForce (attractForce); } } class ParticleSystem { ... applyAttractor (attractor: Attractor ) { this .particles .forEach ((p ) => attractor.applyAttractForce (p)); } } const sketch = (s: p5 ) => { ... let attractor : Attractor ; const setup = ( ... attractor = new Attractor (s, s.createVector (s.width / 2 , s.height / 2 )); }; const draw = ( ... attractor.run (); ps.applyAttractor (attractor); ... }; };
点击添加吸引体 通过点击鼠标,我们能在画面上动态添加吸引体
1
2
3
4
5
6
7
8
9
10
11
12
13
14
15
16
17
18
19
20
21
22
23
24
25
26
27
28
29
30
31
32
33
34
35
36
37
38
39
40
41
const sketch = (s: p5 ) => { ... let attractors : Attractor [] = []; let currentAttractorId = 0 ; let mousePos : p5.Vector ; const setup = ( ... }; const draw = ( mousePos = s.createVector (s.mouseX , s.mouseY ); ... attractors.forEach ((attractor ) => { attractor.run (); ps.applyAttractor (attractor); }); ... }; const mousePressed = ( const attractor = new Attractor (s, mousePos, 16 , currentAttractorId); attractors.push (attractor); currentAttractorId += 1 ; }; ... s.mousePressed = mousePressed; };
吸引体相互吸引 如果吸引体之间也能相互吸引,那就更有趣了
1
2
3
4
5
6
7
8
9
10
11
12
13
14
15
16
17
18
19
20
21
const sketch = (s: p5 ) => { ... const draw = ( ... for (let i = 0 ; i < attractors.length ; i++) { for (let j = 0 ; j < attractors.length ; j++) { if (i !== j) { const attractorA = attractors[j]; const attractorB = attractors[i]; attractorA.applyAttractForce (attractorB); } } } ... }; };
吸引体靠近时合并 但光吸引肯定是不够的,不如试着让它们大鱼吃小鱼般地融合起来呢?
1
2
3
4
5
6
7
8
9
10
11
12
13
14
15
16
17
18
19
20
21
22
23
24
25
26
27
28
29
30
31
32
33
34
35
36
37
38
39
40
41
42
43
44
45
class Attractor extends Particle { isNearAnother (attractor: Attractor ) { const distAB = p5.Vector .dist (this .position , attractor.position ); const distMin = (this .radius + attractor.radius ) * 0.8 ; const isNear = distAB < distMin; return isNear; } absorb (attractor: Attractor ) { this .attractForceMag += attractor.attractForceMag ; this .radius += attractor.radius ; this .velocity = this .s .createVector (0 , 0 ); } } const sketch = (s: p5 ) => { ... const draw = ( ... for (let i = 0 ; i < attractors.length ; i++) { for (let j = 0 ; j < attractors.length ; j++) { if (i !== j) { const attractorA = attractors[j]; const attractorB = attractors[i]; attractorA.applyAttractForce (attractorB); if (attractorA.isNearAnother (attractorB)) { attractorA.absorb (attractorB); attractors = attractors.filter ( (attractor ) => attractor.id !== attractorB.id ); } } } } ... }; };
注意这里把 attractor 的 radius 调小了
吸引体半径超限后坍塌 如果一不小心合得太多怎么办?就让它当场坍塌爆炸,boom shakalaka!
1
2
3
4
5
6
7
8
9
10
11
12
13
14
15
16
17
18
19
20
21
22
23
24
25
26
27
28
29
30
31
32
33
34
35
36
37
38
39
40
41
42
43
44
45
46
class Attractor extends Particle { ... isCollasping : boolean ; isDead : boolean ; static RADIUS_LIMIT = 100 ; ... constructor (s: p5, position = s.createVector(0 , 0 ), radius = 16 , id = 0 ) { ... this .isCollasping = false ; this .isDead = false ; } collapse ( this .isCollasping = true ; this .radius *= 0.75 ; if (this .radius < 1 ) { this .isDead = true ; } } } const sketch = (s: p5 ) => { ... const draw = ( ... attractors.forEach ((attractor ) => { ... if ( attractor.radius >= Attractor .RADIUS_LIMIT || attractor.isCollasping ) { attractor.collapse (); if (attractor.isDead ) { attractors = attractors.filter ((item ) => item.id !== attractor.id ); } } }); ... }; ... };
设置渐变背景色 画面黑色背景太单调了,设置个美丽的渐变色吧
1
2
3
4
5
6
7
8
9
10
11
12
13
14
15
16
17
18
19
20
21
22
23
24
25
26
27
28
29
30
31
32
33
34
35
36
37
38
39
40
41
42
43
44
45
46
47
48
49
50
51
52
53
const sketch = (s: p5 ) => { const setGradient = ( x: number , y: number , w: number , h: number , c1: p5.Color, c2: p5.Color, axis: number ) => { s.strokeWeight (1 ); if (axis === 1 ) { for (let i = y; i <= y + h; i++) { let inter = s.map (i, y, y + h, 0 , 1 ); let c = s.lerpColor (c1, c2, inter); s.stroke (c); s.line (x, i, x + w, i); } } else if (axis === 2 ) { for (let i = x; i <= x + w; i++) { let inter = s.map (i, x, x + w, 0 , 1 ); let c = s.lerpColor (c1, c2, inter); s.stroke (c); s.line (i, y, i, y + h); } } }; const draw = ( ... s.background (0 ); s.blendMode (s.ADD ); setGradient ( 0 , 0 , s.width , s.height , s.color ("#2b5876" ), s.color ("#4e4376" ), 1 ); ps.run (); ... }; };
线条拖尾效果 记录微粒运动的上一个位置,并且与当前位置相连,就能得到拖尾轨迹
1
2
3
4
5
6
7
8
9
10
11
12
13
14
15
16
17
18
19
20
21
22
23
24
25
26
27
28
29
30
31
32
33
34
35
36
37
38
39
40
41
42
43
44
45
class Particle { ... lastPosition : p5.Vector ; constructor (s: p5, position = s.createVector(0 , 0 ) ) { ... this .lastPosition = this .s .createVector (0 , 0 ); } display ( this .s .fill (255 ); this .s .stroke (255 ); this .s .strokeWeight (2 ); this .s .strokeJoin (this .s .ROUND ); this .s .strokeCap (this .s .ROUND ); this .s .line ( this .position .x , this .position .y , this .lastPosition .x , this .lastPosition .y ); } update ( this .lastPosition = this .position .copy (); this .velocity .add (this .acceleration ); this .velocity .limit (this .topSpeed ); this .position .add (this .velocity ); this .acceleration .mult (0 ); } } const sketch = (s: p5 ) => { ... const setup = ( const canvas = s.createCanvas (s.windowWidth , s.windowHeight ); const ctx = (canvas as any ).drawingContext as CanvasRenderingContext2D ; ctx.globalAlpha = 0.5 ; ... }; };
吸引体振荡效果 通过sin正弦函数,我们能让吸引体的大小有规律地振荡起来
1
2
3
4
5
6
7
8
9
10
11
12
13
14
15
16
17
18
19
20
21
22
23
24
25
26
27
class Attractor extends Particle { ... oscillatingRadius : number ; constructor (s: p5, position = s.createVector(0 , 0 ), radius = 16 , id = 0 ) { ... this .oscillatingRadius = 0 ; } display ( this .s .blendMode (this .s .BLEND ); this .s .stroke (0 ); this .s .fill ("#000000" ); this .oscillate (); this .s .circle (this .position .x , this .position .y , this .oscillatingRadius * 2 ); } oscillate ( const oscillatingRadius = this .s .map ( this .s .sin (this .s .frameCount / 6 ) * 2 , -1 , 1 , this .radius * 0.8 , this .radius ); this .oscillatingRadius = oscillatingRadius; } }
项目地址 Attractor Particle System